

You’ve just strapped on your new weighted vest, excited to boost your workouts, but suddenly realize you have no idea if 20 pounds is too much or too little. Choosing the wrong weight can lead to injuries, wasted effort, or frustrating plateaus. The truth is, calculating the right weighted vest weight isn’t guesswork—it’s a precise science that accounts for your body, goals, and fitness level. Without proper calculation, you risk joint damage while missing out on the performance gains you’re chasing.
Most people make critical mistakes when figuring out how to calculate weighted vest weight, often starting too heavy or ignoring activity-specific requirements. This guide delivers the exact calculation method used by exercise physiologists, complete with activity-specific adjustments, progression protocols, and hard safety limits. You’ll learn how to determine your personalized vest weight in minutes, avoid common calculation errors, and progress safely toward your fitness goals.
Calculate Your Exact Starting Weight Using Body Percentage
Forget arbitrary numbers—your ideal weighted vest weight must be calculated as a percentage of your current body weight. The universally accepted starting formula uses a precise percentage range that scales with your size, ensuring proportional resistance regardless of whether you weigh 130 or 220 pounds.
Your Personalized Calculation Formula:
– Beginner minimum: Body weight × 0.05 = lowest safe starting weight
– Standard range: Body weight × 0.05 to 0.10 = optimal starting range
– Advanced ceiling: Body weight × 0.15 to 0.20 = maximum safe weight
Practical Examples for Immediate Application
A 150-pound person should start with 7.5-15 pounds (150 × 0.05-0.10), while a 200-pound individual needs 10-20 pounds (200 × 0.05-0.10). Never use absolute weights like “everyone should start with 20 pounds”—this dangerous myth ignores individual physiology. If your calculation yields 13.7 pounds, round down to 13 pounds, not up, especially during your first two weeks of use.
Why Percentage Matters More Than Absolute Weight
Your body processes resistance relative to its size. A 20-pound vest represents 13% of a 150-pound person’s body weight but only 9% for someone weighing 220 pounds. This explains why the same vest weight feels dramatically different across body types. Percentage-based calculation ensures you’re working against appropriate resistance without exceeding your structural capacity.
Adjust Vest Weight for Running vs Strength Training Goals
Your specific fitness objective dramatically changes how to calculate weighted vest requirements. The weight perfect for building strength could damage your joints during cardio, while running-specific weights might be too light for muscle development.
Strength Training Weight Calculations
For muscle growth during squats, push-ups, or pull-ups:
– Starting point: 8-12% of body weight
– Progressive range: Work toward 15-20% maximum
– Form checkpoint: Complete all reps with identical technique to unweighted versions
Pro tip: During compound movements like squats, a properly calculated vest weight creates significant muscle engagement without compromising joint safety. If your form breaks down before completing your target reps, reduce the weight immediately.
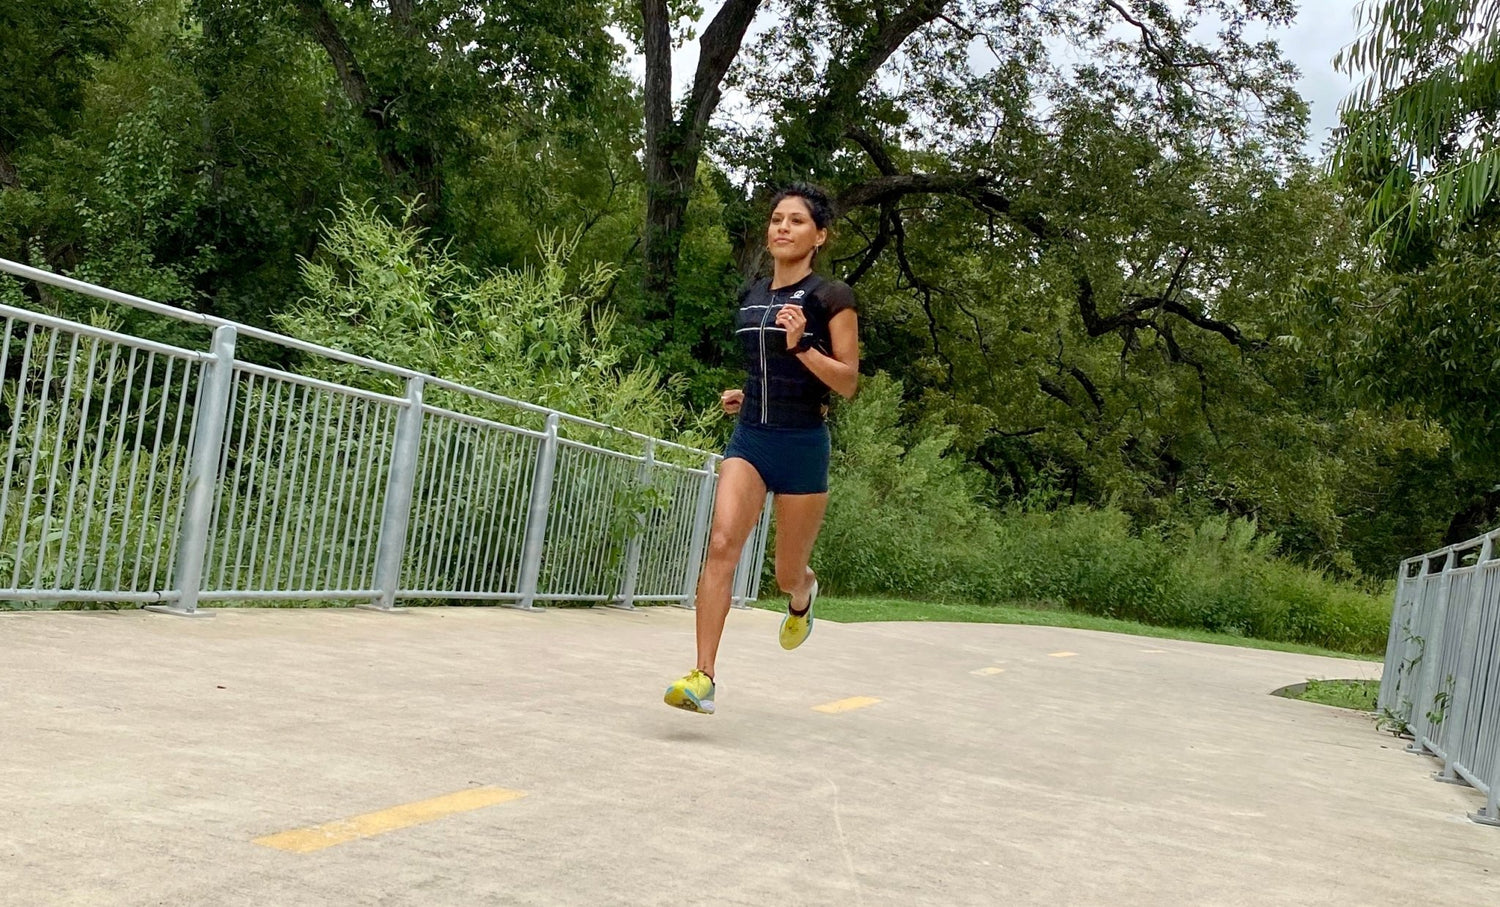
Running and Cardio Vest Weight Limits
For running, walking, or metabolic conditioning:
– Absolute maximum: Never exceed 15% of body weight
– Safe starting point: Begin at 5-8% for running
– Critical form check: Maintain natural stride length and breathing rhythm
Warning sign: If your foot strike changes, you experience increased joint impact, or your breathing becomes disproportionately labored, reduce weight by 2-3 pounds immediately. Running with improper vest weight accelerates joint wear exponentially.
Beginner to Advanced: Fitness Level Vest Weight Protocol
Your training experience determines where to start within the calculated ranges and how quickly you can progress. Ignoring this factor is the #1 cause of vest-related injuries.
Beginner Vest Weight Rules (0-6 Months Training)
- Starting point: 5% of body weight maximum
- Progression rate: Add 1-2% every 2-3 weeks minimum
- Critical adaptation period: Allow 4 full weeks at initial weight
Common beginner mistake: Starting at 10% because “I’m in good shape” leads to excessive soreness and potential injury. Your connective tissues need time to adapt—rushing this process causes setbacks.
Advanced User Weight Calculations (18+ Months Training)
- Starting range: 8-12% of body weight
- Maximum ceiling: 15-20% under professional supervision
- Specialized protocols: May exceed 20% for specific strength goals only
Expert note: Even advanced users should never exceed 20% for running or jumping activities. The increased ground reaction forces make higher weights dangerous regardless of experience level.
Critical Safety Limits: When to Reduce Your Vest Weight

These absolute limits protect your joints and prevent long-term damage, regardless of your fitness level or goals.
Hard Weight Ceilings by Activity
- Running/jumping: Maximum 15% body weight (period)
- General training: Absolute maximum 20% body weight
- Controlled strength work: 25% maximum (advanced users only)
Immediate Warning Signs Requiring Weight Reduction
Stop your workout and reduce vest weight if you experience:
– Joint pain beyond normal muscle fatigue
– Altered movement patterns or compensatory motions
– Disproportionate breathing difficulties
– Sharp or shooting pains in spine or joints
Medical adjustment protocol: Reduce calculated weight by 25-50% if you have back issues, stay at 4-6% maximum with joint problems, and consult your physician before exceeding 10% with cardiovascular conditions.
Fix These 4 Common Weighted Vest Calculation Mistakes

Most vest users sabotage their progress or cause injuries through preventable calculation errors. Avoid these critical mistakes:
Mistake #1: Using Absolute Weight Instead of Percentage
Wrong approach: “I’ve seen athletes use 40 pounds, so that’s my target”
Correct calculation: Always base your vest weight on your specific body percentage. A 40-pound vest might be perfect for a 200-pound athlete (20%) but dangerously heavy for someone weighing 150 pounds (26.7%).
Mistake #2: Ignoring Activity-Specific Requirements
Wrong approach: Using the same 20-pound vest for running that you use for squats
Correct adjustment: Reduce calculated weight by 25-50% for high-impact activities. If your strength training weight is 15 pounds, use only 7.5-11 pounds for running.
Mistake #3: Premature Heavy Loading
Wrong approach: Starting at 15% because “I want results fast”
Correct progression: Begin at 5-8% regardless of fitness level. Your tendons and ligaments adapt slower than muscles—rushing this process causes overuse injuries.
Mistake #4: Rapid Progression Beyond Adaptation Capacity
Wrong approach: Adding 5 pounds weekly to “keep challenging myself”
Correct timeline: Increase by 2-5% body weight (not absolute pounds) every 2-3 weeks minimum. A 180-pound person should add only 3.6-9 pounds monthly, not weekly.
Progressive Overload Schedule: When to Increase Vest Weight
Building vest weight requires patience and precise timing. Follow this evidence-based progression framework:
First 4 Weeks: Foundation Building
- Weeks 1-2: Use calculated starting weight for 10-15 minute sessions
- Weeks 3-4: Gradually increase session duration to 20-25 minutes
- Critical focus: Perfect movement patterns before adding load
Long-Term Progression Protocol
- Increase frequency: No more than once every 2-3 weeks
- Increment size: 2-5% body weight increases only
- Reassessment trigger: Recalculate if your body weight changes by 5+ pounds
Pro tip: When increasing vest weight, reduce your workout volume by 20-30% for the first session at the new weight. This prevents form breakdown while your body adapts to the increased resistance.
Your Weighted Vest Calculation Checklist
Before your next workout, verify these critical calculation points:
– [ ] Vest weight is 5-10% of current body weight (not a fixed number)
– [ ] Weight reduced by 25-50% for running/jumping activities
– [ ] No joint pain or altered movement patterns
– [ ] Last weight increase occurred at least 2 weeks ago
– [ ] Vest distributes weight evenly across shoulders and torso
If any box remains unchecked, adjust your vest weight before continuing. Your long-term progress depends on these precise calculations—not on pushing through improper resistance.
Final Calculation Protocol for Immediate Results
Calculating your weighted vest weight correctly transforms it from a potential injury risk into your most effective training tool. Start with 5-10% of your body weight, adjust for your specific activity (reducing by 25-50% for running), and progress no faster than 2-5% body weight every 2-3 weeks. Remember that maintaining perfect form with moderate weight delivers better results than struggling with excessive load.
Your immediate next step: Grab a calculator and determine your exact starting range using: Your body weight × 0.05 to 0.10. Choose the lower number, test it for two full weeks while monitoring for warning signs, and only increase when movements feel completely natural. This science-backed approach ensures consistent progress without the setbacks that derail most vest users. Your joints—and your long-term results—will thank you for taking the time to calculate correctly.


