
Stuck in a cardio rut where treadmill sessions feel like spinning your wheels? Adding a weighted vest transforms ordinary walks into metabolic powerhouses—proven to burn 12% more calories at the same speed without extending your workout time. This joint-friendly approach leverages resistance to spike calorie burn while protecting knees and hips, making it ideal for deconditioned users or those carrying extra weight. You’ll discover exactly how to implement science-backed protocols that deliver faster results than speed-only increases.
Forget guesswork: ACE-commissioned research confirms walking at 2.5 mph with a 15% body-weight vest matches the calorie burn of significantly faster paces—without the punishing joint impact. Whether you’re a beginner seeking fat loss or an athlete chasing performance gains, this guide delivers the precise loading formulas, workout protocols, and safety protocols to maximize your weighted vest treadmill workout results from day one.
Burn 12% More Calories: The Weighted Vest Treadmill Advantage
Forget speed-only cardio. Adding strategic resistance forces deeper muscle recruitment while elevating oxygen consumption—proven to amplify calorie burn by 12% at identical treadmill speeds. The ACE-commissioned University of New Mexico study demonstrated this metabolic boost occurs even at 0% incline with a 15% body-weight vest. Unlike cranking speed—which multiplies joint impact forces—vest loading increases heart rate through resistance alone, creating sustainable intensity perfect for overweight users or those with joint concerns.
This dual benefit extends beyond calorie burn. The weight-bearing nature triggers osteogenic signals that preserve hip and spine bone density, particularly crucial for post-menopausal women. Research in Quality of Life Research shows consistent vest-walking programs yield 1% bone density gains versus 0.6% loss in controls. For time-crunched exercisers, this means transforming 30-minute walks into comprehensive metabolic and skeletal conditioning sessions.
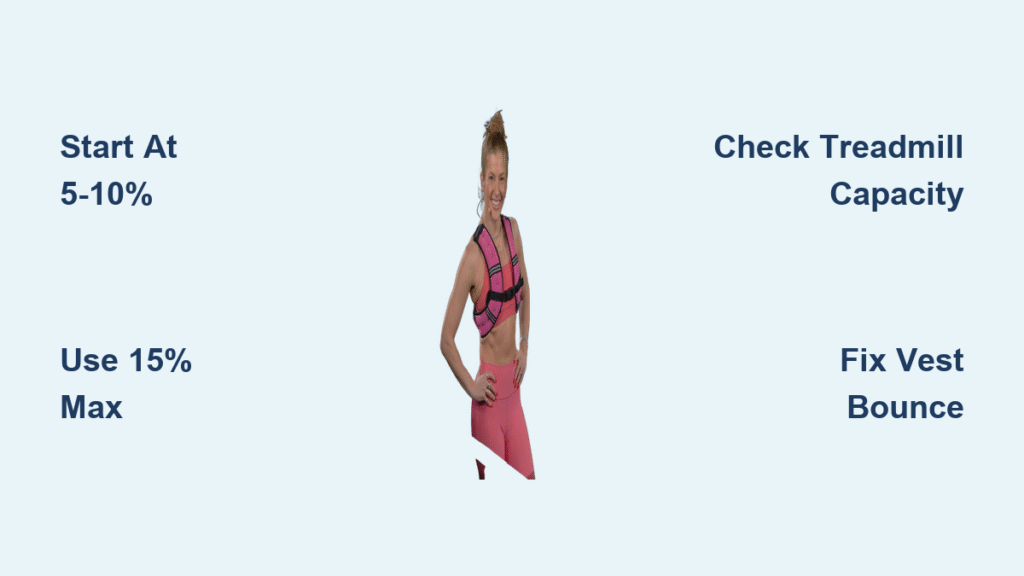
How Much Weight Should You Actually Use?
Start conservatively at 5-10% of your body weight—never exceeding 15% without medical clearance. A 180-pound person begins with a 9-18 lb vest load. The Journal of Strength and Conditioning Research confirms loads above 20% impair gait mechanics and increase injury risk. Progress by adding 1-2 pounds every 1-2 weeks only after mastering posture at current load. Competitive athletes occasionally push to 22.5% (like a 200-lb person using 45 lbs), but this requires expert supervision.
Vest & Treadmill Specs: Critical Equipment Requirements You Can’t Skip

Your equipment choices make or break safety and effectiveness. Vests must feature removable weights (sandbags or laser-cut plates) in nylon/Cordura shells with adjustable shoulder AND side straps to prevent bounce. Plate-style vests like Omorpho G-Vest+ distribute weight more evenly than sandbag models, reducing shoulder strain during incline work.
Treadmill capacity is non-negotiable: Verify the user weight rating exceeds your body weight PLUS vest load. A 200-lb person using a 20-lb vest requires a 220+ lb capacity machine—most consumer models max at 300-350 lbs. Always place a high-density mat beneath the treadmill to absorb amplified foot-strike forces. Ignoring this risks motor burnout and uneven deck wear.
Budget Vest Guide: From $30 to $300 Models

| Level | Top Picks | Why It Works |
|———–|—————|——————|
| Budget ($30-50) | Zelus Adjustable (12-60 lb sandbags) | Removable sandbags prevent rust issues; ideal for beginners |
| Mid-Range ($100-200) | Hyperwear Hyper Vest Pro (10-20 lb) | Slim profile won’t ride up on inclines; moisture-wicking fabric |
| Premium ($250+) | Omorpho G-Vest+ (5-20 lb micro-weights) | Laser-cut plates distribute load evenly; zero bounce guarantee |
Medical Red Flags: 6 Conditions Requiring Doctor Clearance
Stop immediately if you have arthritis, severe osteoporosis, COPD, pregnancy, acute low-back pain, or uncontrolled hypertension. These conditions turn vest loading from beneficial to dangerous. The Journal of Gerontology notes even mild osteoporosis requires medical supervision due to increased fracture risk during weight-bearing exercise.
Recognize these emergency signals during warm-up:
– Sharp knee or hip pain when starting movement
– Numbness in hands from gripping handrails
– Vest bouncing despite tightened side straps
– Inability to maintain conversation after 2 minutes
If any occur, remove the vest and consult your physician before continuing. Never power through discomfort—vest loading magnifies biomechanical flaws.
5-Minute Warm-Up & Safety Checklist: Start Right Every Time
Never skip this critical sequence: Begin with 5 minutes of unloaded walking at 2.0-2.5 mph and 0% grade. Perform dynamic mobility moves mid-walk: ankle circles (30 seconds each foot), hip openers (10 leg swings per side), and shoulder rolls (15 reps). Don your vest during the final 60 seconds to confirm zero bounce and proper weight distribution.
Pre-Workout Safety Checklist (Do This Every Session):
– [ ] Vest load ≤15% body weight (20% max for advanced users)
– [ ] Treadmill rating ≥ body weight + vest (e.g., 200-lb person + 20-lb vest = 220+ lb capacity)
– [ ] High-density mat positioned under entire treadmill base
– [ ] Shoes: Stability trainers with ample cushioning (no minimalist shoes)
– [ ] Emergency stop clip attached to clothing
Beginner to Advanced: Weighted Vest Treadmill Workout Progression
20-Minute Beginner Fat-Loss Walk (Weeks 1-2)
Set treadmill to 2.5 mph at 0% grade with 5-7% body-weight vest. Walk continuously for 20-30 minutes at RPE 12-13 (“somewhat hard” where you can speak short sentences). Focus on upright posture—eyes forward, shoulders back, core braced. This protocol burns 12% more calories than unloaded walking while building foundational strength. Progress when you complete 30 minutes without vest bounce or joint discomfort.
Stepwise Incline Calorie Burn (Weeks 3-4)
Boost calorie burn by 13% using this grade progression at 2.5 mph with 10% body-weight vest:
1. 0% grade for 4 minutes
2. 5% grade for 4 minutes
3. 10% grade for 4 minutes
4. 15% grade for 2 minutes
5. Return to 5% grade for remaining time
Complete 20-30 minutes total. The ACE study confirms this sequence maximizes caloric expenditure while minimizing perceived effort. Advance by adding 5% to vest load OR increasing incline by 1-2%—never both simultaneously.
Advanced 12-3-30+ Sled Walk (Weeks 7+)
Combine viral trends with metabolic science: Set treadmill to 3.0 mph at 12% grade with 15% body-weight vest. Perform 5 minutes on followed by 2 minutes off (unloaded walking) for 4-6 rounds. Shorten your stride to maintain shin perpendicularity and reduce knee shear. This protocol torches calories at HIIT intensity while building quadriceps endurance—monitor heart rate recovery between rounds to gauge readiness for next interval.
Perfect Your Posture: Weighted Vest Treadmill Gait Cues That Prevent Injury
Head & Spine Alignment: Maintain chin parallel to floor—never look down at console. This prevents forward lean that strains lumbar discs under load. Imagine a string pulling the crown of your head toward the ceiling.
Upper Body Mechanics: Keep shoulders pulled back and down (like sliding them into back pockets). Allow natural arm swing without gripping handrails—use them only for balance checks every 30 seconds. Engage your core as if bracing for a light punch to the abdomen.
Lower Body Adjustments: Shorten stride by 10-15% on inclines above 5% to maintain proper knee alignment. Land mid-foot and roll through toes—overstriding transfers damaging shear forces to knees. On steep grades (>10%), consciously drive through heels to engage glutes.
5 Weighted Vest Treadmill Mistakes (And How to Fix Them Immediately)
Vest Bouncing? Tighten side straps FIRST before shoulder straps—the side bungees prevent lateral movement. If sandbags shift, switch to plate-style vests like ZFOsports Short for even weight distribution.
Forward Lean on Inclines? Reduce grade by 2% immediately and cue “chest up” posture. Long-term: add deadlifts and bird-dog exercises to strengthen posterior chain.
Knee Valgus (Knees Caving In)? Slow speed by 0.2 mph and focus on pushing knees outward with each step. Off-treadmill: perform clamshells and banded lateral walks twice weekly.
Handrail Death Grip? Set phone timer for 30-second intervals—release handrails completely during odd intervals. If balance fails, reduce vest load by 5%.
Shoulder Chafing? Apply anti-chafe balm (like BodyGlide) to collarbones pre-workout. Always wear a moisture-wicking base layer under the vest.
4-Week Weighted Vest Treadmill Plan: Follow This Timeline
Weeks 1-2: Foundation Phase
– Frequency: 2x weekly
– Load: 5-7% body weight
– Protocol: 20-minute flat walks at 2.5 mph
– Focus: Master posture without handrail use
Weeks 3-4: Adaptation Phase
– Frequency: 3x weekly
– Load: 8-10% body weight
– Protocol: Stepwise incline method (20 minutes)
– Focus: Maintain RPE 12-13 during 10% grade intervals
Weeks 5-6: Intensification Phase
– Frequency: 3-4x weekly
– Load: 10-12% body weight
– Protocol: Incline intervals (5 cycles of 2-min work/4-min recovery)
– Focus: Achieve HR recovery to 120 bpm between intervals
Weeks 7+: Specialization Phase
– Frequency: 4-5x weekly
– Load: 12-15% body weight
– Protocol: 12-3-30+ Sled Walk (4 rounds)
– Focus: Complete all intervals without reducing speed
Post-Workout Recovery: Cool-Down & Equipment Maintenance
Critical 10-Minute Sequence:
1. 5 minutes unloaded walking at 2.0 mph
2. Static stretching: 30 seconds per side for calves (wall stretch), quads (standing pull), hip flexors
3. Foam rolling: 60 seconds each for quads, IT band, adductors
Vest Care Protocol: Remove all weights immediately post-workout. Hand-wash shell in cold water with mild detergent—never machine dry. Air-dry flat and inspect stitching monthly. Replace sandbags showing leaks or plates with rust spots.
Treadmill Maintenance: Lubricate belt every 150 miles (check manual) and retighten deck bolts every 500 miles. Listen for unusual grinding noises under load—this indicates motor strain from excessive weight.
Master these protocols and you’ll transform mundane treadmill sessions into metabolic catalysts. Start conservative, prioritize posture over load, and let science—not guesswork—drive your progress. Within 4 weeks, you’ll experience stronger bones, leaner muscles, and the satisfaction of outsmarting your cardio plateau—all without adding a single minute to your workout time.


