

Your wrists ache after long days typing, or maybe you’re a boxer whose punches lack snap. Wrist weight exercises offer a simple solution—subtle resistance that transforms ordinary movements into strength-building goldmines. These portable powerhouses fit in your gym bag but deliver results that rival bulky equipment. Whether you’re recovering from tendonitis or seeking athletic edge, adding 1-5 pounds of strategic resistance rebuilds damaged joints while sculpting powerful shoulders.
Many fitness enthusiasts overlook wrist weight exercises despite their versatility for rehabilitation and performance enhancement. You’ll discover how these compact tools bridge the gap between physical therapy and advanced training. Unlike clunky machines, wrist weights let you strengthen tendons during daily activities—turning coffee breaks into mobility sessions and commutes into shoulder sculpting opportunities.
Critical Safety Protocols for Wrist Weight Training

Smart Weight Selection Strategies
Your arms already carry significant natural weight—approximately 6.5% of your total body mass. For a 165-pound person, that’s about 10 pounds per arm. Adding another 5 pounds creates serious resistance that can strain unconditioned joints. Start conservatively with just 1-2 pounds maximum regardless of fitness level. Your tendons need time to adapt to this new stimulus.
Follow these weight progression rules:
– Beginners: Begin with 1-pound wrist weights
– Intermediate users: Move to 2-3 pound weights after 4 weeks
– Advanced athletes: Only consider 3-5 pound weights with perfect form
Essential Pre-Use Checks
Before strapping on wrist weights, verify your range of motion can handle the added resistance. Can you comfortably touch your fingertips to your forearm in both directions? If not, start with rehabilitation exercises first. Immediately stop if you experience sharp pain or tingling—these signal potential nerve compression. Never wear wrist weights overnight as circulation restriction risks are serious. Limit initial sessions to 20-30 minutes to prevent overuse injuries.
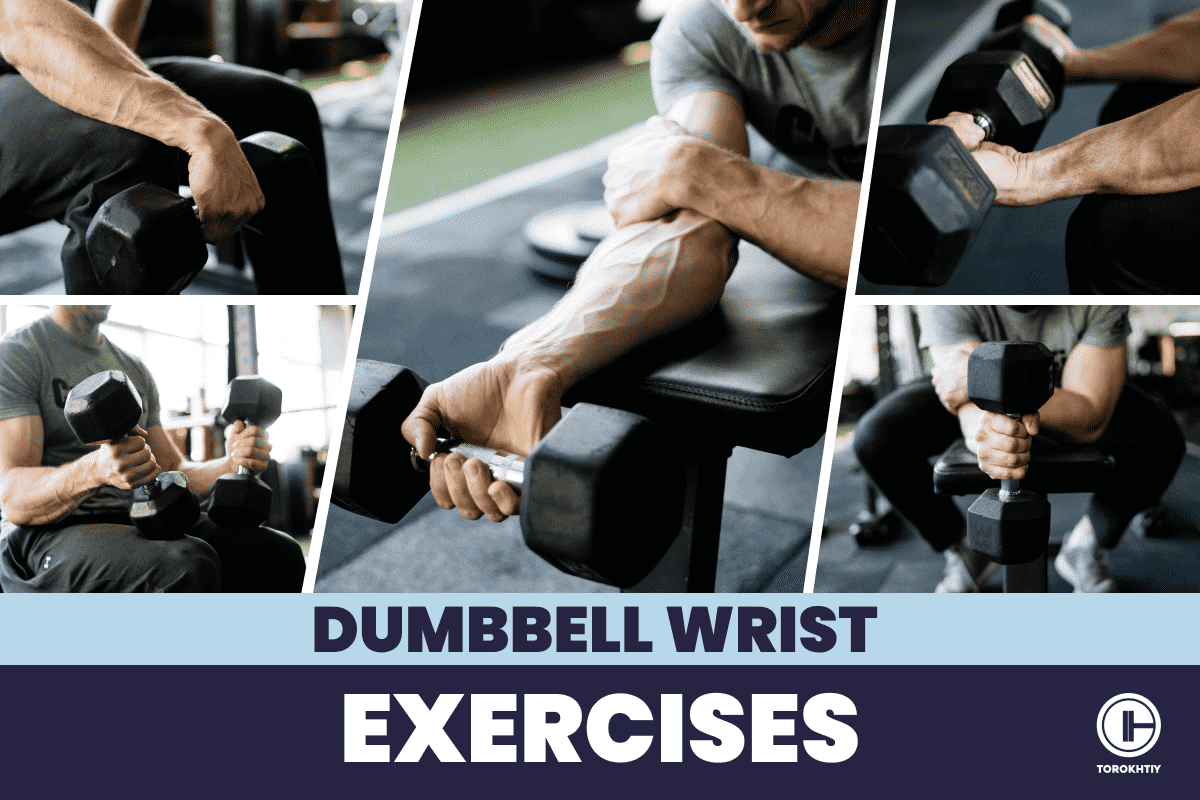
Rehabilitation-Focused Wrist Weight Exercises
Dynamic Finger Stretch Protocol
Perfect for: Office workers, gamers, and tennis enthusiasts experiencing stiffness
This simple routine counteracts the constant finger flexion of daily activities. Every 2 hours during repetitive tasks, perform this sequence: Make a tight fist for 5 seconds, then explosively spread your fingers outward like a starfish. Hold the stretched position until you feel gentle tension along your palm. Complete 10-15 repetitions per hand. The key is consistency—you’ll see better results doing this during commercial breaks than one lengthy session weekly.
Targeted Wrist Extension Recovery
Works best for: Typists and keyboard users with weak extensor tendons
Position your forearm flat on a table with your hand dangling off the edge, palm facing down. Hold a 1-2 pound dumbbell (or water bottle) and slowly lift your hand until parallel to the floor. Pause for 2 seconds at the top, then lower with a controlled 3-second descent—this negative phase rebuilds damaged tendons most effectively. Start without weights for the first week, then gradually add ½ pound increments every 10-14 days. Build to 3 sets of 15 repetitions three times weekly for optimal recovery.
Precision Wrist Flexion Technique
Addresses: Weak flexor tendons after injury or surgery
Use the same table setup but rotate your palm to face the ceiling. Keeping your forearm glued to the surface, curl the weight upward through full range of motion—your hand should drop slightly below table level before lifting. Move slowly, focusing on muscle engagement rather than speed. Perform 2-3 sets of 10-15 repetitions three times weekly. If weights aren’t available, use your opposite hand to provide gentle resistance as you flex against it. This self-resistance method builds tendon strength safely during early recovery phases.
Deep Prayer Stretch Release
Ideal for: Carpal tunnel prevention and forearm tightness relief
Press your palms together firmly at chest level like a prayer position. Slowly lower your hands toward your waist while maintaining palm contact until you feel tension along your forearms. Hold this stretch for 30 seconds, then repeat 3-4 times. For deeper release, separate your palms while keeping fingertips touching—this variation targets individual finger tendons. Perform this stretch every morning and after prolonged typing sessions to maintain healthy tendon gliding.
Performance-Boosting Wrist Weight Exercises
Shoulder Sculpting Power Moves
Side Lateral Burnout Sequence
Stand with feet hip-width apart, arms at your sides with palms facing your thighs. Raise your arms out to the sides until parallel to the floor, leading with your elbows rather than hands. Lower with a deliberate 4-second count to maximize time under tension. For serious deltoid development, use wrist weight exercises in strip sets: perform to failure with dumbbells plus wrist weights, then immediately continue with just wrist weights until second failure. This advanced technique builds shoulder endurance that translates directly to athletic performance.
Front Raise Precision Training
Target your front shoulders with strict form: stand tall with elbows locked throughout the movement. Raise your arms straight in front until parallel to floor, thumbs pointing slightly upward to protect shoulder joints. The added resistance of wrist weights forces perfect form—no cheating with momentum possible. Complete 3-4 sets of 12-15 repetitions with flawless technique. You’ll develop stronger anterior deltoids that improve posture and upper body power.
Core and Lower Body Enhancements
Bicycle Crunch Amplification
Lie on your back with hands behind your head, legs extended straight (not bent at 90 degrees). Bring opposite elbow to knee while fully extending the other leg. The wrist weights add resistance to your arm movement, dramatically increasing core engagement. Move slowly—2 seconds for each direction—with complete control. Perform 3 sets of 20-30 repetitions per side for shredded obliques and rock-solid stability.
Glute Activation Side Leg Raises
Lie on your side with your bottom arm supporting your head, stacking hips vertically. With wrist weights secured, lift your top leg to 45 degrees, pause for 2 seconds at the peak contraction, then lower without touching the bottom leg. Complete 3 sets of 20 repetitions per side to sculpt the often-neglected gluteus medius. These “side butt” muscles stabilize your pelvis during running and jumping—critical for athletic performance and injury prevention.
Advanced Wrist Weight Training Protocols
Strip Set Muscle Annihilation
Push past normal failure with this pro technique: perform bicep curls with 20-pound dumbbells plus 3-pound wrist weights until you reach failure at 12 repetitions. Immediately drop the dumbbells but keep the wrist weights, continuing the set until second failure at approximately 18 additional repetitions. This extended set technique forces maximum muscle fiber recruitment. Limit strip sets to 1-2 exercises per workout—your recovery system needs respect with this intensity.
Travel-Ready Full-Body Circuit
Create a complete workout anywhere with just wrist weights: perform 15 push-ups, 20 squat-to-overhead presses, 10 plank rows per arm, 20 walking lunges with arm swings, and 30 seconds of mountain climbers. Repeat this circuit 3-4 times for a 15-minute routine that hits every major muscle group. The strategic resistance of wrist weight exercises transforms basic bodyweight movements into serious strength builders—perfect for hotel rooms or park workouts.
Smart Progression and Warning Signs
Four-Phase Progression Plan
Follow this timeline for safe advancement: Weeks 1-2 focus on mastering form with 1-pound weights. Weeks 3-4 increase to 2 pounds while adding one set per exercise. Weeks 5-6 introduce new movements while maintaining 2-pound resistance. Only after Week 7 consider 3-pound weights if all repetitions feel effortless. This gradual approach builds resilient tendons rather than creating new injuries.
Stop immediately if you notice:
– Numbness or tingling that persists after removing weights
– Sharp pain during exercises
– Swelling that doesn’t subside within hours
– Reduced grip strength the following day
If symptoms last more than 24 hours, take 3-4 days off before reassessing. Your tendons need this recovery time to strengthen properly.
Wrist weight exercises deliver disproportionate results for their minimal equipment requirements. Start light, prioritize perfect form over weight, and listen to your body’s feedback signals. Whether you’re rehabbing a nagging injury or seeking that extra athletic edge, these versatile tools transform everyday movements into strength-building opportunities. Your wrists—and entire physique—will thank you for the strategic investment in targeted resistance.


