
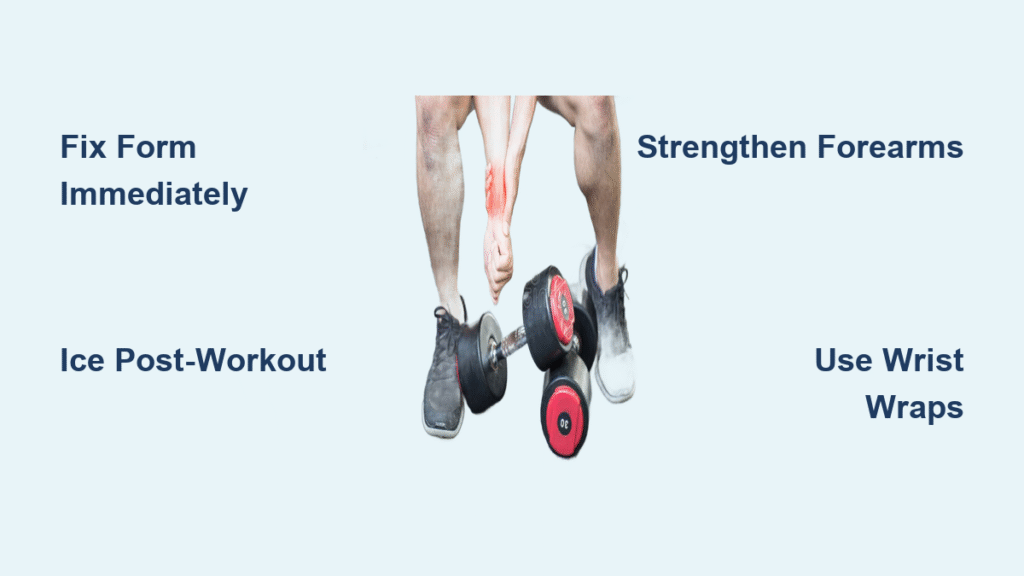
That sharp twinge in your wrist when you lower the barbell isn’t a badge of honor—it’s your body screaming for help. If you’ve ever taped your wrists before bench press or winced during push-ups, join the club: physical therapists consistently flag wrist pain after weight training as one of the most frequent complaints among lifters. The real kicker? Most cases stem from preventable mistakes, not inevitable wear-and-tear.
This isn’t about pushing through discomfort. It’s about decoding why your wrists flare up after lifting sessions and implementing targeted fixes that keep you strong without sacrificing joint health. By the end of this guide, you’ll know exactly how to modify your training, strengthen weak links, and return to pain-free lifting—often within weeks.
Why Your Wrist Collapses Under Heavy Loads
Weak forearm stabilizers are the silent saboteur behind 70% of wrist pain cases. When your grip strength can’t handle the weight, your wrist buckles into extreme extension or flexion, straining ligaments and grinding carpal bones. Picture this: you jump back into training after a vacation and immediately attempt your old max. Without gradual reconditioning, those tiny stabilizing muscles fail catastrophically.
Poor joint alignment during pressing movements is equally destructive. Bench pressing with wrists bent backward transfers crushing forces through delicate wrist structures instead of through your forearms. Similarly, standard push-ups force excessive extension that irritates the dorsal wrist capsule—a setup for chronic inflammation.
Overuse injuries creep in through high-volume programs like CrossFit or bodybuilding splits. The wrist’s small muscles fatigue faster than larger muscle groups, creating micro-tears that compound over weeks of training. Skipping warm-ups or rushing load progression accelerates this damage.
Spot Danger Signals Before They Become Chronic
Pain location tells the critical story. Dorsal wrist pain (top of hand) during push-ups or overhead presses typically means ligament strain or cartilage irritation. Volar pain (palm side) after heavy curls often signals flexor tendonitis. Ulnar-sided pain (outer wrist) when benching suggests triangular fibrocartilage complex (TFCC) damage—a common culprit in pressing movements.
Red flags demand immediate action:
– Sharp pain that stops you mid-rep
– Numbness or tingling in fingers (nerve compression warning)
– Swelling or warmth after training sessions
– Morning stiffness rated above 3/10 on a pain scale
Dull soreness that eases with warm-up but returns post-workout indicates early overuse. Compare both wrists visually—if one looks swollen or sits differently, compensation patterns are already developing.
Stop the Pain Cycle in 72 Hours
Eliminate Aggravating Exercises Immediately
- Identify trigger movements by tracking pain in your workout log (e.g., “sharp dorsal pain during barbell bench”)
- Slash pressing volume by 40-50%—if you normally do 20 sets weekly, drop to 10-12
- Substitute pain-free alternatives like landmine presses or incline dumbbell work
Ice and Massage Protocol That Works
Ice massage technique: Freeze water in a paper cup. Peel back the rim and massage sore areas in small circles for 5-7 minutes post-workout. This combines cold therapy with targeted pressure to reduce swelling more effectively than static ice packs.
Self-massage routine: Roll a lacrosse ball firmly along your forearm flexors (palm side) and extensors (top side) for 2-3 minutes each. Focus on tender spots near your elbow crease—releasing tension here decreases stress on the wrist by 30%. Skip NSAIDs beyond the first 72 hours; they mask pain signals needed for proper healing.
Fix Your Form Before Lifting Again

Bench Press and Push-Up Overhauls
Critical bench adjustments:
– Grip the bar so your wrists stay stacked directly under your forearms (no backward bend)
– Use a false grip (thumbs wrapped with fingers) to maintain neutral alignment
– Switch to dumbbells or a Swiss bar—parallel handles eliminate wrist torque instantly
Pain-free push-up modifications:
– Perform on fists or push-up handles to keep wrists neutral
– Try wall push-ups or incline variations on a bench to reduce load
– Avoid standard floor push-ups until pain resolves
Smart Volume Management
Never increase weekly pressing volume by more than 10% when recovering. Track all pressing movements: bench, overhead press, dips, and push-ups. Every fourth week, implement a deload: reduce pressing weights by 20% and focus solely on perfect technique. This micro-recovery prevents cumulative damage while preserving strength.
Must-Have Gear for Pain-Free Lifting
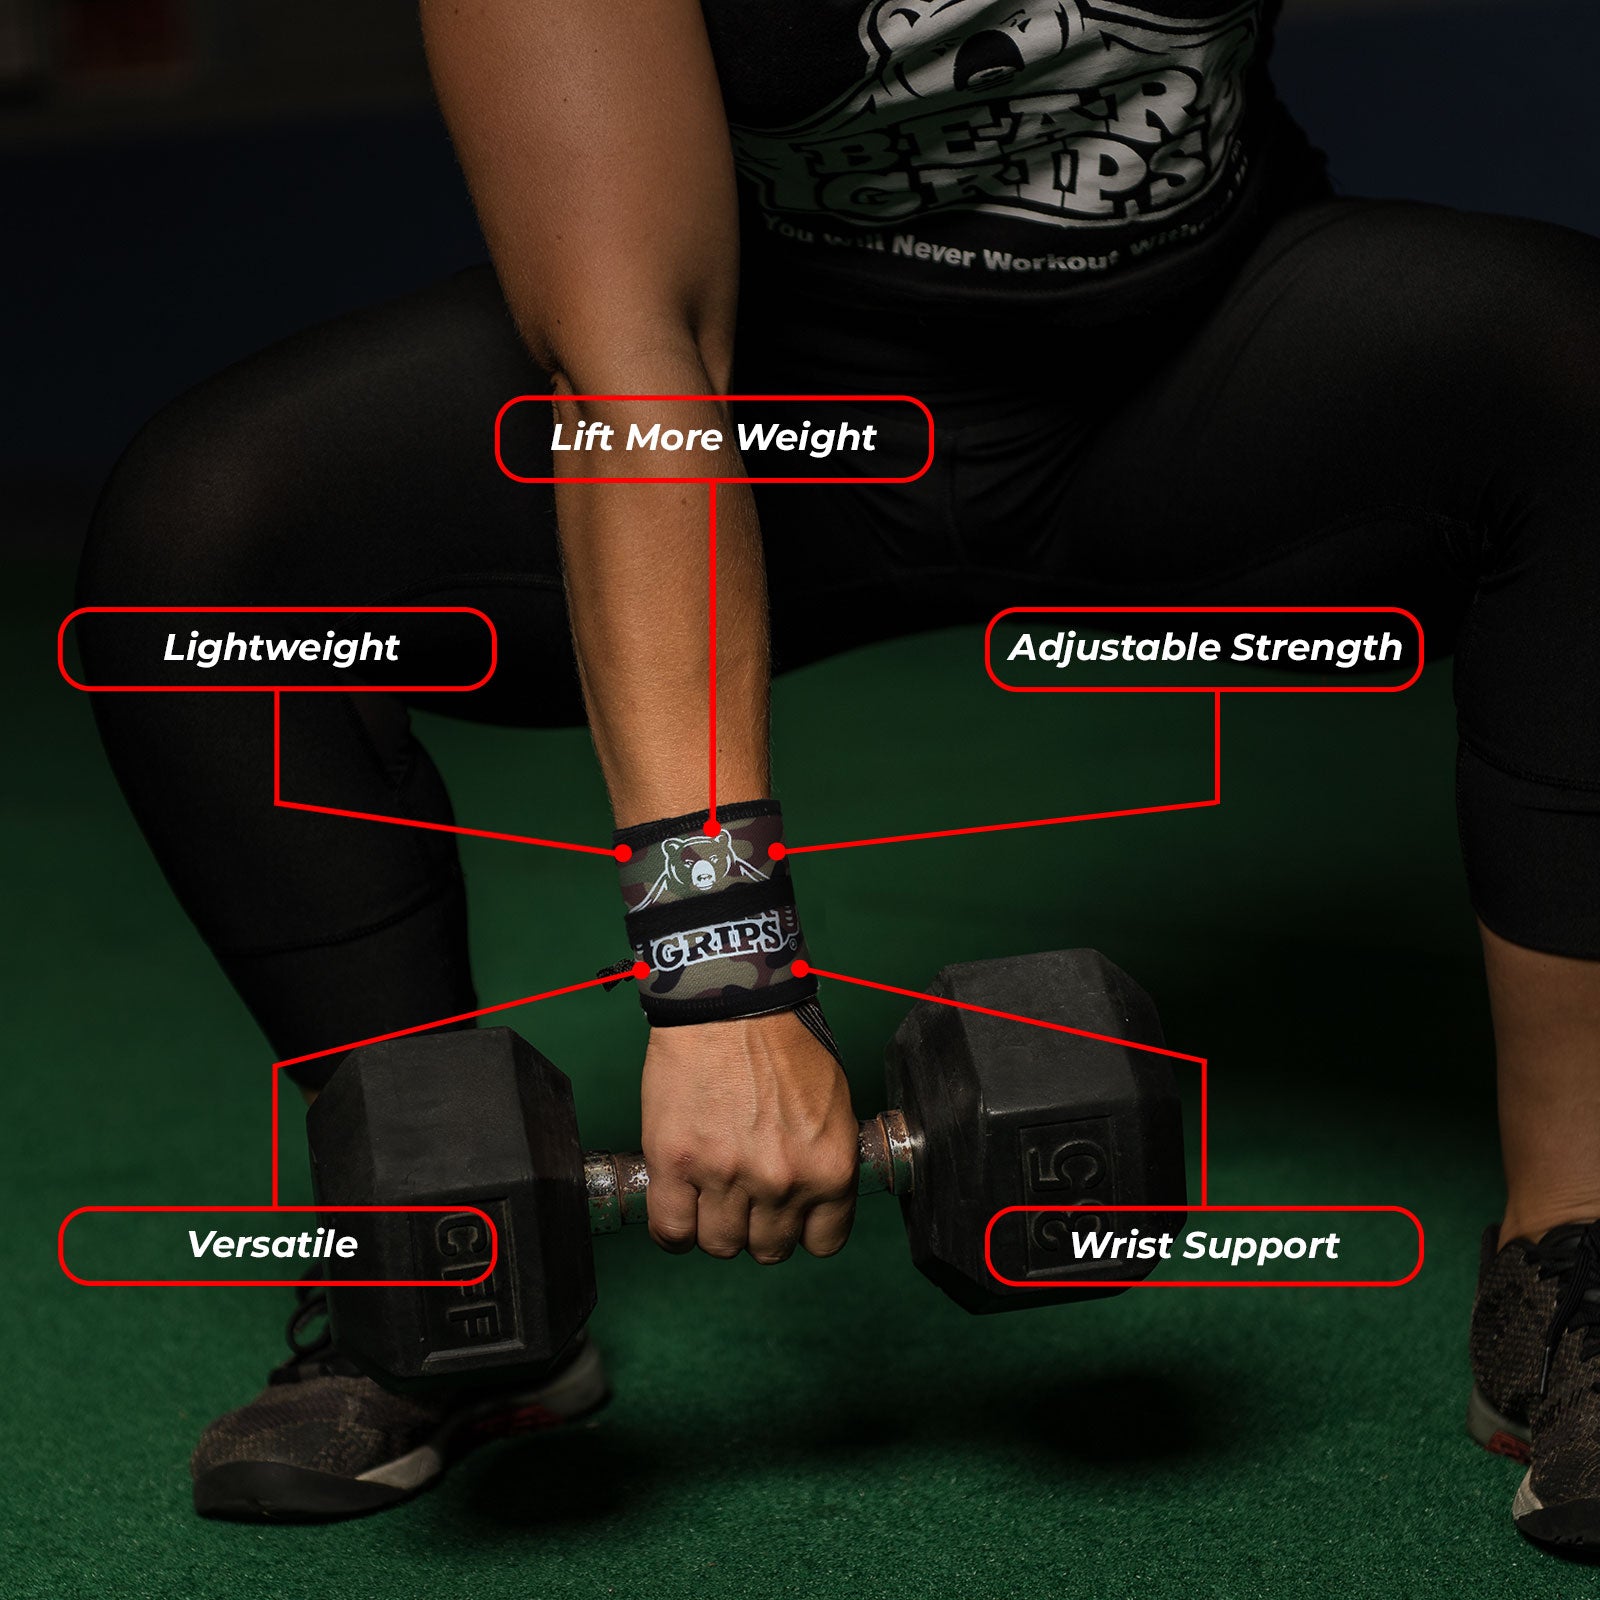
Wrist wraps ($12-25 for elastic versions) provide crucial stability for 70-85% 1RM efforts. Powerlifting-grade rigid wraps should be reserved for maximal attempts only—they restrict motion needed for healthy joint function.
Neutral-grip equipment transforms painful movements:
– Swiss bars maintain natural forearm alignment during presses
– Fat Gripz attachments thicken handles to reduce extreme wrist angles
– Push-up handles ($10-25) eliminate floor contact pain instantly
For budget fixes, wrap towels around barbells or use DIY wrist rollers made from PVC pipe and rope—effective for under $10.
Daily Rehab Exercises That Actually Work
3-Minute Mobility Routine (Do Before Every Workout)
- Wrist circles: 10 slow rotations clockwise/counterclockwise
- Prayer stretch: Press palms together at chest level, slowly lower toward waist for 30 seconds
- Reverse prayer: Back of hands together behind back, lift upward until stretch felt (30 seconds)
2x Weekly Strength Circuit
| Exercise | How to Perform | Sets × Reps |
|---|---|---|
| Resisted wrist flexion | Light dumbbell (1-2kg), palm up, forearm on thigh—slowly curl and lower | 3 × 15 |
| Resisted wrist extension | Same setup palm down—focus on full range of motion | 3 × 15 |
| Water bottle stabilizer | Fill 500ml bottle ¼ full, hold at mid-forearm while moving hand side-to-side without bending wrist | 3 × 10 per direction |
| Farmer carries | Heavy dumbbells, walk 20-30m with neutral wrists | 3-4 sets |
Key: Always keep your forearm stationary during radial/ulnar deviation work—only the wrist moves.
When to Call in the Pros
Seek hand therapy immediately if:
– Pain persists beyond 2 weeks despite modifications
– You experience sharp pain, instability, or numbness in fingers
– Swelling or warmth develops around the joint
Therapists use ultrasound imaging to visualize ligament integrity and design sport-specific rehab. Corticosteroid injections may provide temporary relief for tenosynovitis but only work when combined with proper rehab—never as a standalone fix.
Long-Term Prevention Blueprint
Rotate pressing variations weekly: Never perform identical pressing movements two sessions in a row. Alternate between barbell, dumbbell, and landmine presses to distribute stress differently across wrist structures.
Implement periodization: Alternate heavy strength weeks (3-5 reps) with volume weeks (8-12 reps) to prevent overuse. Schedule dedicated forearm training twice weekly—not just grip work, but direct wrist strengthening.
Track recovery daily: Rate morning wrist stiffness on a 1-10 scale. Anything above 3/10 means you need an extra recovery day or volume reduction.
Your 4-Week Comeback Timeline

Days 1-3: Implement mobility routine, reduce pressing loads 40%, ice massage post-workout
Days 4-14: Start rehab circuit, substitute painful exercises, use wrist wraps for heavy sets
Weeks 2-4: Progress loads by ≤10% weekly only if pain-free 24 hours post-workout
Beyond 4 weeks: If no improvement, book hand therapy—don’t gamble with chronic damage
Critical rule: Zero pain during exercise AND zero pain 24 hours later before progressing. Any discomfort means revert to the previous week’s load.
Wrist pain after weight training isn’t a rite of passage—it’s a fixable mechanical issue. By respecting tissue recovery timelines and addressing weak links, most lifters eliminate pain within 4-6 weeks while maintaining 90%+ of their strength. Your wrists aren’t holding you back; they’re giving you the blueprint to lift smarter, longer, and stronger. Stop taping over the problem—start rebuilding from the foundation up.


