
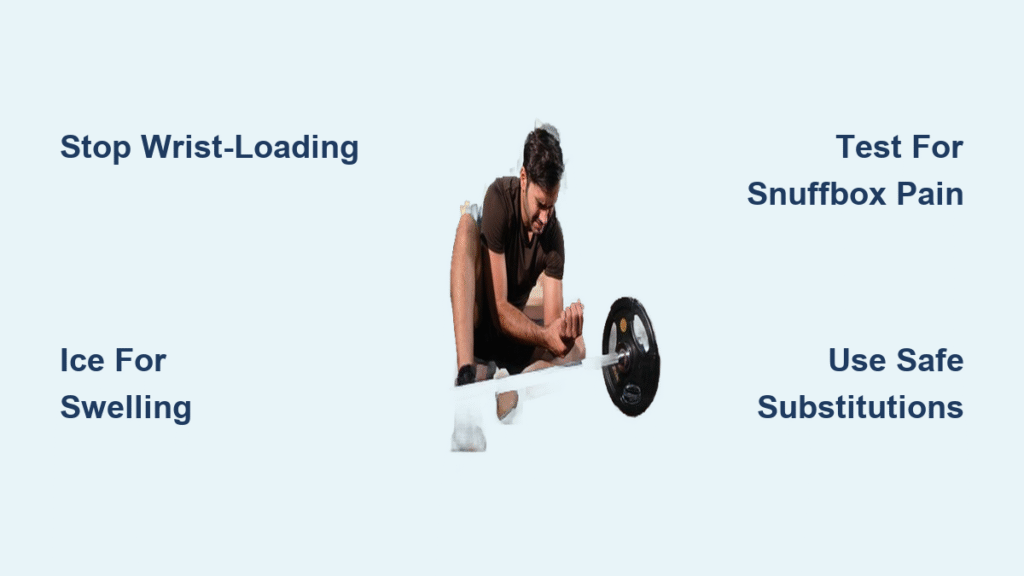
That sharp pain shooting through your wrist when catching a heavy clean isn’t just annoying—it’s your body screaming for help. Most weightlifters push through initial discomfort until a simple push-up becomes impossible, derailing months of progress. Whether you’re grinding toward a new front squat PR or building foundational strength, wrist injuries strike fast and heal slow without targeted intervention. The critical truth? 90% of weightlifting wrist injuries resolve completely within 8 weeks when managed correctly. This guide reveals exactly how to diagnose your specific injury, implement the right rehab sequence, and prevent recurrence—so you can return to lifting stronger than before.
Why Your Front Rack Causes Wrist Pain
Dorsal wrist impingement torments lifters during front squats and cleans when the radius bone crushes against carpal bones under hyperextension. You’ll feel sharp pain on the back of your wrist precisely when loading the bar into the rack position. This isn’t “normal soreness”—it’s bone bruising from repetitive impact. Warning signs include tenderness when pressing the dorsal wrist and significantly reduced extension range compared to your uninjured side. The real culprit? Poor shoulder mobility forcing compensatory wrist extension. When your thoracic spine won’t rotate or lats won’t engage, your wrist pays the price by over-extending to keep the bar stable.
How to Test for Dorsal Impingement at Home
- Passively hyperextend your affected wrist (bend backward)
- Apply gentle downward pressure through the hand
- Sharp pain = positive test requiring immediate load reduction
Critical mistake: Continuing front-rack work while symptomatic. Every loaded extension worsens micro-trauma and can trigger bone spur formation within weeks.
Scaphoid Fracture Warning Signs You Can’t Ignore

Tenderness in your anatomical snuffbox—the thumb-side depression when making an “OK” sign—is your body’s emergency alert. Scaphoid impaction syndrome from Olympic lifts or handstands often starts as vague ache but can escalate to fracture within days of ignoring symptoms. Unlike other bones, the scaphoid’s poor blood supply makes fractures prone to non-union and permanent arthritis if missed. Test yourself by making a fist and pressing firmly into the snuffbox; pain means stop all wrist-loading immediately and seek X-rays.
When to Skip the Doctor and Go Straight to Imaging
Get X-rays within 24 hours if you experience:
– Snuffbox tenderness lasting over 48 hours
– Inability to grip light objects (like a water bottle)
– Visible swelling on the thumb side of your wrist
Ignoring these signs risks avascular necrosis—a condition where bone tissue dies from lack of blood flow, requiring surgery.
Immediate Damage Control Protocol
Stop all wrist-loading exercises for 72 hours—no exceptions. Continuing to train transforms reversible inflammation into chronic damage. Eliminate these movements immediately:
– Front-rack barbell work
– Push-ups and handstands
– Heavy bench pressing
Reduce Swelling Within 24 Hours
- Ice massage: Rub a paper cup of ice directly over painful areas for 5 minutes every 2 hours
- Compression: Wear a light elastic wrap during daily activities (remove during sleep)
- NSAIDs: Take 400mg ibuprofen every 6 hours for maximum 3 days
Pro tip: Sleep with your forearm elevated on a pillow to prevent overnight swelling. Never sleep on the affected wrist—this compresses healing tissues.
Rehab Progression: Week-by-Week Blueprint
Restore Pain-Free Range (Days 1-14)
Perform this daily routine before breakfast:
– Prayer stretch: Press palms together, elbows out, hold 30 seconds × 3
– Flexor stretch: Arm straight, palm up, gently pull fingers toward body (30 sec/side)
– Neural glide: Make “stop” sign, slowly bend wrist up/down while turning head (10 reps)
Key checkpoint: Full pain-free extension (knuckles to ceiling) before advancing. If pain exceeds 2/10 during stretches, regress intensity.
Rebuild Wrist Strength (Weeks 3-6)
Start with isometric holds against a wall:
– Press palm forward for extension (5 sec × 10 reps)
– Press palm down for flexion (5 sec × 10 reps)
Progress to dynamic strengthening when pain-free:
– Week 3: Light wrist curls (1-2lb dumbbell) × 2 × 15
– Week 4: Farmer’s carries (15lb kettlebell) × 3 × 30 seconds
– Week 5: Bottom-up kettlebell carries × 3 × 20 seconds
Never increase load if you feel pain during or after exercises—this delays healing.
Pain-Free Exercise Substitutions

| Stop These Immediately | Safe Alternatives | Equipment Needed |
|---|---|---|
| Barbell front squats | Goblet squats with kettlebell | 12-24kg kettlebell |
| Floor push-ups | Push-ups on parallettes | $20 parallettes |
| Barbell bench press | Neutral-grip dumbbell press | Adjustable bench |
| Handstand practice | Wall walks on parallettes | Parallettes |
Critical rule: Only use wrist wraps for lifts at 80%+ of your 1RM. Chronic wrap dependency weakens stabilizing muscles. For front-rack work, use Olympic lifting straps to reduce wrist extension angle by 30%.
Prevent Recurrence With Daily Maintenance
Skip this 5-minute routine and you’ll reinjure within 3 months. Do it pre-lift:
1. 20 slow wrist circles each direction
2. 10 pulses in prayer stretch (elbows wide)
3. Median nerve glide × 10 (arm out, thumb up, slowly bend wrist)
4. Lacrosse ball forearm massage × 60 seconds
Track these weekly benchmarks:
– Grip strength ≥90% of uninjured side (use dynamometer)
– Pain-free push-ups × 20 reps
– Front-rack hold with empty bar × 60 seconds
Exceeding these by 10% weekly volume increase triggers relapse—stick to the 10% rule for safe progress.
Nutrition and Sleep for Faster Healing
Omega-3s are non-negotiable for reducing inflammation. Consume 2g EPA/DHA daily through:
– 6oz wild salmon
– 3 tbsp walnuts
– Quality fish oil supplement
Prioritize collagen synthesis with:
– 1000mg vitamin C (bell peppers or supplement)
– 1 cup bone broth post-workout
– Tart cherry juice for overnight recovery
Sleep 8+ hours nightly—tissue repair peaks during deep sleep. Place a pillow under your forearm to maintain neutral wrist alignment all night.
Return-to-Lifting Checklist

Don’t even attempt heavy lifts until you clear all criteria:
– ✅ Full pain-free flexion/extension (match uninjured side)
– ✅ Grip strength ≥90% of opposite hand
– ✅ 3 × 10 push-ups with zero pain
– ✅ Front-rack hold with 50% 1RM × 10 reps
– ✅ Coach-approved technique with no wrist compensation
Final test: Perform 3 front squats at 60% of pre-injury max. If pain exceeds 1/10 at any point, regress to Week 4 rehab for 7 days.
Critical takeaway: Wrist injuries in weight lifting aren’t “just part of the process”—they’re preventable with proper loading management. Most lifters return to full training within 6 weeks by following this phased protocol, but rushing recovery guarantees chronic pain. Your wrists bear 100% of the load in every pressing movement; treat them with the same strategic attention as your squat form. Implement the daily maintenance routine even after healing—this separates lifters with recurring injuries from those who stay strong for decades. Start your rehab today, and you’ll grip the bar with confidence again within 30 days.


