
You finally bought that weighted vest to level up your workouts, but as you adjust the straps, panic sets in: Is this 20-pound load crushing my joints? Or is 5 pounds just decorative? One misstep could mean wasted effort or a trip to physical therapy. The truth? Women’s physiology demands smarter loading than generic “start light” advice. With osteoporosis risks doubling after menopause and pelvic floor vulnerabilities unique to female bodies, guessing your vest weight isn’t just ineffective—it’s dangerous.
Forget one-size-fits-all charts. Science reveals your perfect vest load depends on your body weight, hormonal cycle, and whether you’re walking for bone density or squatting for strength. This guide cuts through the noise with exact percentages from physical therapists specializing in women’s health. You’ll discover why 5% is your non-negotiable starting point, when to ignore “progress or die” culture, and how to spot warning signs your vest is sabotaging your pelvic floor before pain strikes.
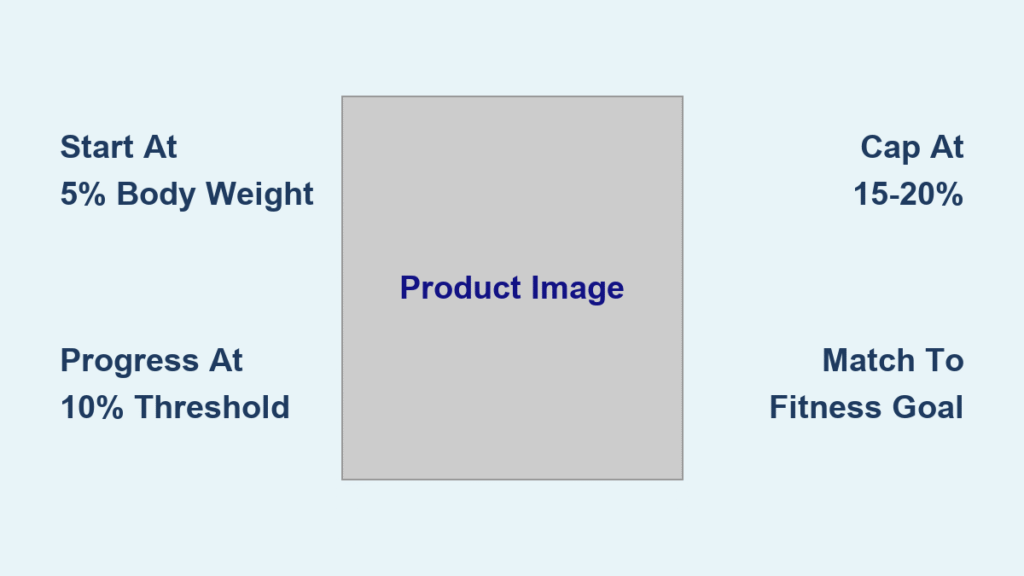
5-10-15 Rule: Your Physiological Safety Net

Start at 5%—No Exceptions
Slip on 5% of your body weight immediately. A 140-pound woman wears 7 pounds, not 10. This isn’t arbitrary—it’s the minimum load triggering osteoblast activity for bone density without overloading fragile joints. At this weight, you should maintain perfect posture during walking while feeling subtle core engagement. If your shoulders hike toward your ears or breathing becomes labored, drop to 4%. This phase builds foundational strength for 4-6 weeks before progressing.
Progress Only at 10% Threshold
Bump to 10% only when walking, squats, and lunges feel effortless for two consecutive weeks. For a 155-pound woman, that’s 15.5 pounds. Crucially, this weight should not shorten your stride or force mouth-breathing during 30-minute walks. If form deteriorates—like knees caving during lunges or a rounded back in push-ups—you’ve jumped too fast. Return to 5% until movement patterns lock in. This zone maximizes calorie burn for cardio while still protecting hip joints.
Never Exceed 15-20% Without Clearance
Recreational women should cap at 15% (21 pounds for 140 lbs). Only advanced athletes with pain-free movement mechanics and pelvic floor certification from a physical therapist may test 20%. Beyond this, ground-reaction forces spike 37% during running (per Journal of Strength & Conditioning Research), dramatically increasing stress fracture risk. If you feel joint pain or urinary leakage at 15%, revert to 10%—your body is signaling it needs more foundational work.
Calculate Your Exact Load in 60 Seconds
| Body Weight | Starter (5%) | Mid-Range (10%) | Advanced (15%) | Absolute Max (20%) |
|---|---|---|---|---|
| 110 lbs | 5.5 lbs | 11 lbs | 16.5 lbs | 22 lbs |
| 125 lbs | 6.3 lbs | 12.5 lbs | 18.8 lbs | 25 lbs |
| 140 lbs | 7 lbs | 14 lbs | 21 lbs | 28 lbs |
| 155 lbs | 7.8 lbs | 15.5 lbs | 23.3 lbs | 31 lbs |
| 170 lbs | 8.5 lbs | 17 lbs | 25.5 lbs | 34 lbs |
Pro Tip: Save this chart in your phone notes. Never guess—your starting weight must be precise. A 125-pound woman hitting 10 lbs (8% instead of 5%) risks knee strain before her muscles adapt.
Match Vest Weight to Your Specific Goal
Bone Density Building
Stick rigidly to 5% initially, progressing to 10-15% over 12 weeks. Physical therapist Meg Darmofal confirms this load combats post-menopausal bone loss by stimulating osteoblasts without compressing vertebrae. Walk 30 minutes daily on flat terrain—no running. If you feel spinal pressure during walks, drop 2 pounds immediately.
Fat Burning During Cardio
Opt for 5-7% during walks or dance cardio. Research shows this range spikes calorie burn 12-15% over unloaded exercise while sparing hips. Never exceed 10%—heavier loads shorten stride length, forcing inefficient “shuffling” that burns fewer calories long-term. For a 170-pound woman, that means 8.5-12 pounds max.
Strength & Muscle Growth
Target 10-15% for squats, lunges, and push-ups. At 155 pounds, wear 15.5-23 pounds to transform bodyweight moves into strength builders. Crucially, if your torso leans forward during weighted squats or hips sag in push-ups, reduce weight by 2 pounds. Form breakdown negates all strength benefits.
Running or Hiking
Cap at 5-7% (7-10 pounds for 140 lbs). Exceeding this alters biomechanics—tibial shock doubles on downhill terrain, spiking shin splint risk. Elite trail runners like Coach Alex Hernandez strictly avoid vests over 10% during runs. Save heavier loads for flat-terrain walking only.
Critical Women-Specific Adjustments

Sync with Your Hormonal Cycle
- Days 1-14 (Follicular phase): Joints are stable. Add 2-3 pounds if you’ve plateaued.
- Days 15-28 (Luteal phase): Ligaments loosen. Drop weight by 20% (e.g., 14 lbs → 11 lbs for 140 lbs) or skip vest workouts entirely if joints feel “loose.” Ignoring this invites ACL strain.
Pelvic Floor Danger Signals
Stop instantly if you notice:
– Urinary leakage during jumps or squats
– Anterior pelvic tilt (belly protruding forward)
– Lower-back pain persisting after workouts
These mean your core isn’t engaging to support the load. Prioritize diaphragmatic breathing drills for 2 weeks before adding weight.
Exercise-Specific Weight Limits
Walking Protocol
- Weeks 1-2: 5-7% for 20-minute walks, 3x/week
- Progression: Add 1 pound every 3 weeks only if stride stays natural
- Red Line: Stop at 15% (21 lbs for 140 lbs)—heavier loads increase hip osteoarthritis risk
Running Safety
- Max 7% (9.8 lbs for 140 lbs) on flat surfaces only
- Never wear during downhill runs—tibial shock becomes unsustainable
- Warning: If your foot strike changes from midfoot to heel-heavy, remove vest immediately
Strength Circuit Guidelines
| Exercise | Safe Vest Weight | Form Killer to Avoid |
|---|---|---|
| Squats | 10-15% | Leaning torso forward |
| Lunges | 8-12% | Wobbling at knee joint |
| Push-ups | 5-10% | Sagging hips |
Pro Tip: For squats, position vest weight higher on your chest—low placement pulls you forward, straining your spine.
Immediate Red Flags & Fixes
3-Second Vest Fit Test
- Take a deep breath—no restriction allowed
- Shake shoulders—zero shifting of weight
- Check front/back balance—no sagging toward hips
Fail any test? Adjust straps or exchange for smaller size.
Medical Stop Signs
- Pregnancy: Remove vest after 12 weeks—abdominal pressure risks diastasis recti
- Hyper-mobility disorders: Never exceed 5% (e.g., 7 lbs for 140 lbs)
- Osteoporosis diagnosis: Start at 3% with pelvic floor PT clearance
Your 4-Week Starter Plan (140-lb Woman Example)
Week 1: 7 lbs vest → 3 × 20-min walks at easy pace
Week 2: Same weight → 2 × 30-min walks + 1 × 15-min bodyweight circuit (no vest)
Week 3: 9 lbs vest → Repeat Week 2’s walking volume only
Week 4: 12 lbs for squats/lunges (2 × 10 reps) + 9 lbs for walks
Critical: If Week 3’s 9 lbs causes knee discomfort, repeat Week 2 with 7 lbs. Never push through pain.
Long-Term Progression Without Injury
- Foundation Phase (0-6 weeks): 5-8% body weight. Focus on posture during walking.
- Strength Phase (6-12 weeks): Build to 10-12%. Add vest to 50% of strength workouts.
- Performance Phase (12+ weeks): Peak at 15% for strength days; drop to 7% for cardio.
Expert Rule: If you can’t complete 3 sets of 12 reps with perfect form, reduce weight by 2 pounds. Strength gains vanish when form breaks.
Final Note: Your ideal weighted vest weight isn’t a number—it’s a moving target. Start at 5% body weight without fail, progress only when your body says “yes,” and honor hormonal fluctuations like a pro athlete. Slip on that 7-pound vest today, and every step becomes a bone-strengthening, fat-burning victory. When in doubt, drop the weight—you’ll gain more by moving well than by grinding through compromised form.


