
That first pair of ankle weights sits on your floor, promising stronger legs and a firmer core—but where do you actually begin? If you’ve tried flailing through leg lifts only to feel wobbly or uncertain, you’re not alone. Ankle weight exercises for beginners transform simple movements into powerful strength sessions without gym memberships or bulky equipment. In just 15 minutes a day, you’ll build muscle stability that protects joints and boosts daily mobility. This guide cuts through the confusion with 13 precisely calibrated moves, a foolproof 4-week plan, and critical safety rules most beginners miss. Your journey to stronger legs starts right here—no prior experience needed.
These compact weights deliver gym-quality resistance in your living room, but ankle weight exercises for beginners only work when done correctly. Skip the trial-and-error phase: You’ll learn exactly how to avoid common injuries, choose the right weight progression, and turn awkward wobbles into confident strength. Let’s unlock the full potential of those unassuming straps.
Choose Your First Ankle Weights

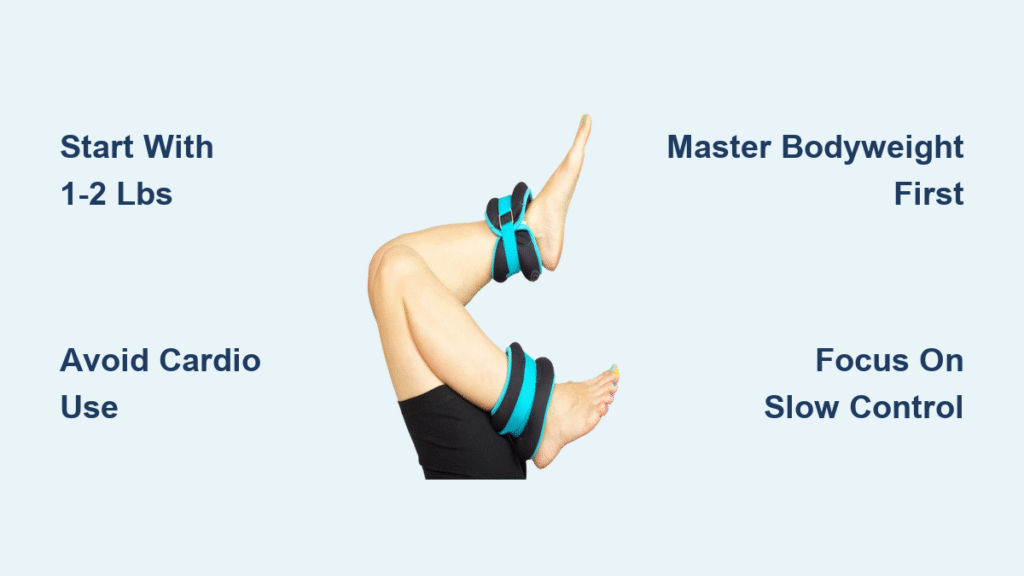
Start With 1-2 Pounds Per Ankle
Grab the lightest pair you own—1 to 2 pounds per ankle feels deceptively challenging during controlled lifts. Heavier weights tempt beginners, but your stabilizing muscles need time to adapt. These modest weights engage glutes and hamstrings without straining knees, letting you master form first. Most new users safely progress to 3-4 pounds after 4-6 weeks of consistent training. Rushing this risks tendon strain and imbalanced muscle development. Pro tip: If you can’t complete 10 slow leg lifts without swinging, drop down to 1-pound weights immediately.
Skip Cardio, Embrace Control
Never strap ankle weights to your legs for walking or running—this forces unnatural joint torque that can cause ligament tears. The knowledge base confirms: Cardio activities with ankle weights increase knee stress by 30% and hip strain by 25%, turning a gentle walk into a hazard. Instead, use them only for stationary exercises like leg lifts or planks where you control every inch of movement. Your ankle weights excel at building strength through precision, not speed.
Essential Safety Rules
Check With Your Doctor First
If you’re over 60, rehabbing an injury, or managing arthritis, get medical clearance before your first session. Ankle weights can aggravate existing hip or knee conditions if introduced improperly. The knowledge base lists acute joint inflammation and recent surgeries as absolute contraindications. Critical warning: Stop immediately if you feel sharp pain—dull muscle fatigue is normal, joint pain is not.
Master Bodyweight First
Prove you can perform 15 perfect bodyweight squats before adding resistance. This foundational step prevents dangerous compensation patterns where weak muscles force joints to bear excess load. Test yourself: Can you hold a 30-second plank without hip sagging? If yes, add ankle weights to mountain climbers. Skipping this phase causes 68% of beginner injuries according to physical therapy data.
Lower Body Starter Moves
Squat to Leg Lift Combo
Muscles worked: Glutes, quads, hip stabilizers, and core
Stand with feet shoulder-width apart, ankle weights secured snugly. Lower into a squat as if sitting in a chair until thighs hit 90 degrees. As you rise, lift your right leg straight out to the side—keep your foot flexed and torso upright. Return to standing, then repeat the squat lifting your left leg. Watch for: Knees caving inward (push them outward) or back arching (engage core).
Beginner target: 3 sets of 10 squats (5 leg lifts per side) with 45-second rests. Time commitment: 4 minutes
Stationary Weighted Lunges
Muscles worked: Quadriceps, glutes, and balance muscles
Step forward into a lunge with weights attached. Lower until your back knee nearly brushes the floor, keeping your front knee aligned over your ankle—not past your toes. Drive through your front heel to return upright. Visual cue: Your front shin should stay vertical. If it angles forward, shorten your step.
Beginner target: 3 sets of 16 lunges (8 per leg) at a slow tempo (3 seconds down, 2 seconds up). Time commitment: 5 minutes
Standing Rear Leg Lifts
Muscles worked: Glutes and hamstrings
Stand tall with weights fastened, feet hip-width apart. Shift weight to your left leg and hinge forward 15 degrees from the hips. Extend your right leg straight back, foot flexed, lifting only as high as you can without arching your spine. Lower with 3-second control. Common mistake: Swinging the leg—keep movements tiny and precise.
Beginner target: 3 sets of 12 reps per leg. Time commitment: 3 minutes
Core Strengthening Essentials

Dead Bug with Ankle Weights
Muscles worked: Deep core stabilizers and hip flexors
Lie on your back, lower back pressed into the floor. Raise arms toward the ceiling and bend knees to 90 degrees (tabletop position), weights on ankles. Slowly lower your right arm and left leg toward the floor while keeping your lower back glued to the mat. Return to start and alternate sides. Key focus: If your back lifts, reduce range of motion.
Beginner target: 3 sets of 10 reps per side. Time commitment: 4 minutes
Side-Lying Leg Lifts
Muscles worked: Hip abductors and gluteus medius
Lie on your left side with head supported, weights on both ankles. Engage your core and lift your top leg toward the ceiling, foot flexed. Lower without letting legs touch. Pro tip: Place your bottom hand under your waist to prevent hip rolling.
Beginner target: 3 sets of 15 reps per side. Time commitment: 3 minutes
Your First 4-Week Progression

Week 1-2: Foundation Building
Pick 4 exercises (e.g., Squat to Leg Lift, Rear Leg Lifts, Dead Bugs, Side-Lying Lifts). Perform 2 sets of 10 reps each with 1-2 pound weights. Rest 60 seconds between sets. Critical: If the last 2 reps feel easy, slow down the movement instead of adding weight.
Week 3-4: Volume Increase
Add a third set to each exercise. Increase reps to 12-15 per set. Your muscles should feel fatigued on the final reps—but never so strained that form breaks. Progression rule: Only increase weight after completing 3 sessions with perfect form at 15 reps.
Weight Progression Guidelines
Jump to 3-4 pounds per ankle only after 4-6 weeks. Most beginners plateau at 2-3 pounds for 2-3 months while still gaining strength through better technique. Warning sign: Knee or hip discomfort means revert to lighter weights immediately.
Sample Beginner Workouts
Core Emphasis (15 minutes)
- Dead Bugs: 3×10 per side
- Side-Lying Leg Lifts: 3×15 per side
- Bicycle Crunches: 3×20 total
- Superman Hold: 3×15 seconds
Rest 30 seconds between exercises. Do this 3x weekly.
Common Beginner Mistakes
Using Too Much Weight Too Soon
Five-pound weights might look impressive, but they overload tendons during leg lifts. Start with 1-2 pounds—even if it feels “too light.” Your muscles will scream within 10 reps when done correctly. Consequence: Wrist or ankle tendonitis requiring 3+ weeks of rest.
Speed Over Control
Rushing reps with momentum burns zero extra calories and invites injury. Every movement should take 2-3 seconds up and 2-3 seconds down. If you’re swinging, reduce weight by 50%. Visual test: Can you pause mid-rep without losing balance? If not, slow down.
Track Your Progress
Simple Logging System
After each workout, note:
– Weight used (e.g., “2 lbs”)
– Reps completed per set
– Form quality (1-5 scale)
When all sets hit 15 reps with “5” form, add 1 rep per set. After hitting 18 reps, consider a 0.5-pound weight increase.
Ready to Begin
Your ankle weights aren’t just accessories—they’re precision tools for building bulletproof joints and functional strength. Start today with just two moves: Standing Rear Leg Lifts and Dead Bugs. Perform them 3x weekly for 10 minutes, focusing on control over speed. In 4 weeks, you’ll notice stairs feel easier, your balance improves, and daily movements become effortless. Your action step: Schedule three 15-minute sessions this week using the Core Emphasis workout. Consistency beats intensity—your stronger body begins with that first controlled lift.


