
You strap on your new weighted vest for what should be a simple neighborhood walk, only to find your shoulders screaming after five minutes while your breathing turns ragged. That heavy vest you bought isn’t making you stronger—it’s setting you up for joint damage and burnout. The truth is, most walkers wear vests 2-3 times heavier than safe limits, turning a healthy habit into a physical liability. Choosing the right load isn’t guesswork; it’s science-backed precision that balances calorie burn with joint protection. This guide delivers exact weight thresholds based on your body size and fitness level so you can walk smarter, not harder, from day one.
Walking with excessive weight creates thousands of amplified impacts per session—each step transferring dangerous stress through knees, hips, and spine. Yet too little weight wastes the vest’s potential for boosting metabolism and bone density. After analyzing biomechanics research and physical therapist protocols, we’ve distilled the exact loading strategy that prevents injury while maximizing results. You’ll discover your personalized starting weight, precise progression rules, and critical red flags your body sends when the load becomes dangerous. Skip the trial-and-error pain and implement these evidence-based steps immediately.
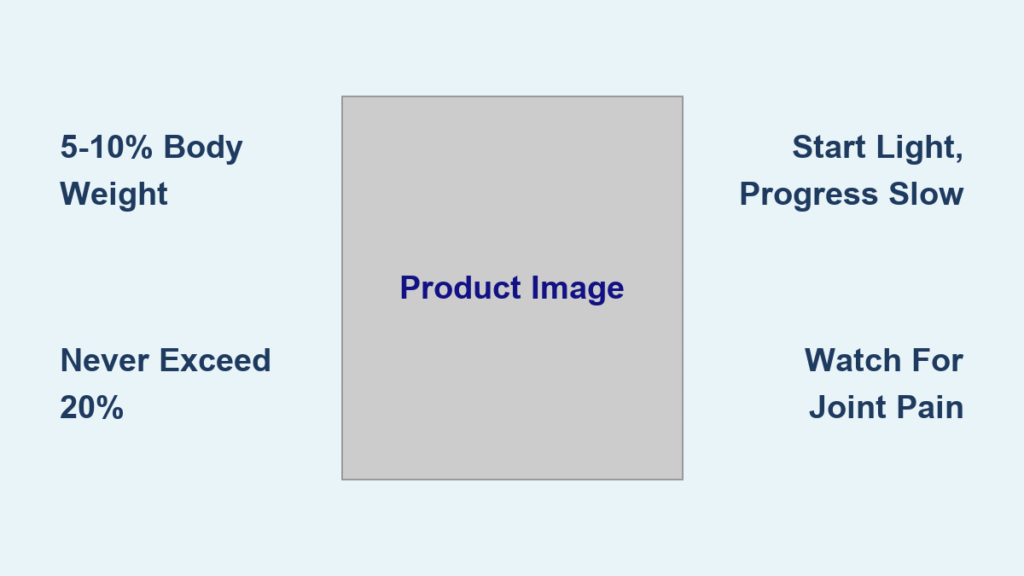
Start With Your Exact 5-10% Body Weight Threshold
Your vest weight must be calculated from your current body weight—not a generic “beginner” setting. For walking, immediately calculate 5-10% of your total weight to find your safe starting range. This narrow window delivers enough resistance to elevate heart rate and stimulate bone growth without distorting your natural gait. A 160-pound walker begins at just 8-16 pounds—far below the 25-40 pound vests commonly marketed as “entry-level.”
Never Exceed the 20% Absolute Ceiling
Even elite athletes must honor this non-negotiable limit: 20% of body weight is the maximum safe load for walking. Most users plateau between 15-18% for optimal benefits. Beyond this threshold, ground-reaction forces spike exponentially: A 200-pound person wearing a 40-pound vest (20%) subjects their joints to 80,000 extra pounds of cumulative load during a 30-minute walk. This isn’t strength training—it’s joint erosion disguised as fitness.
Quick Reference Weight Calculator
- 130 lb walker: Start at 6.5-13 lb
- 170 lb walker: Start at 8.5-17 lb
- 200 lb walker: Start at 10-20 lb
Always round down if between whole numbers—e.g., 12.6 lb becomes 12 lb.
Match Your Starting Load to Fitness Experience
Your history with weighted movement determines where you begin within the 5-10% range. Beginners must start at the lower end to protect vulnerable joints, while experienced athletes can safely initiate at higher percentages.
Absolute Beginner Protocol
If you’ve never worn added weight during movement: Begin at 5% (or 5-10 lb fixed weight, whichever is lower). Walk unweighted for two weeks while wearing the empty vest during household chores to acclimate. Only add weight when your posture remains neutral while carrying groceries. Most beginners plateau at 12-15% body weight—rarely needing more.
Intermediate Walker Strategy
For those regularly carrying 15-25 lb backpacks during hikes: Start at 10% body weight. Add 5 lb every 1-2 weeks ONLY if you maintain a heel-to-toe stride and can speak full sentences while walking. Never progress if your shoulders creep toward your ears—this indicates immediate load overload.
Why Lighter Loads Maximize Walking Benefits

Heavy vests sabotage walking’s core advantages by shifting focus from cardiovascular endurance to joint stress. Loads above 10% trigger three critical failures:
Joint Stress Amplification
Each pound in your vest multiplies across 3,000-4,000 steps per mile. A 15-pound vest adds 45,000-60,000 pounds of cumulative load during a 3-mile walk. This microtrauma accumulates silently until knee or hip pain forces you to stop—often requiring months of recovery.
Cardiovascular Sacrifice
At 15%+ body weight, your breathing becomes labored at normal walking speeds, forcing you to slow down. This drops your heart rate below the fat-burning zone (60-70% max HR), negating walking’s primary metabolic benefit. Lighter loads let you walk faster while still elevating heart rate.
Posture Collapse Mechanism
Above 10% body weight, your body compensates by rounding shoulders, shortening stride, or leaning forward—reducing walking efficiency by 22-35%. These changes transfer load to spinal discs and neck muscles, creating pain that persists for days after your walk.
Progressive Loading Timeline for Injury-Free Gains
Week 1-2: Wear the empty vest (or 5 lb) during cooking, cleaning, or standing work. Your goal: Maintain upright posture without vest shifting. If you catch yourself hunching, reduce weight immediately.
Week 3-4: Add initial weight (5-10%) for 10-minute flat walks near home. Set phone timer for 5-minute intervals to check posture: Shoulders back, core engaged, arms swinging naturally.
Week 5+: Increase by 2-5% body weight ONLY if all three conditions are met:
1. Zero joint discomfort during/after walks
2. Unchanged stride length (measure via sidewalk cracks)
3. Ability to speak comfortably while walking
Critical plateau rule: At 15-18% body weight, stop adding weight. Instead, increase walk duration by 5 minutes weekly or add 3% incline on treadmill.
Red Flags That Demand Immediate Weight Reduction
Your body broadcasts clear signals when the vest is too heavy. Ignore these at your peril—they precede chronic injuries:
Visual Warning Signs
- Shoulder rounding visible in side-view photos
- Stride shortening (count steps per block—shuffling reduces it by 15%+)
- Excessive forward lean requiring hand support on walls/fences
Physical Emergency Signals
- Knee “pinching” during heel strike (indicates meniscus stress)
- Lower back stiffness lasting >2 hours post-walk
- Sharp ankle pain (stop immediately—risk of tendon tear)
Action protocol: Reduce weight by 25-50% at first sign of trouble. If pain persists 48 hours after removing vest, consult a physical therapist before continuing.
Special Population Weight Adjustments
Women Managing Bone Density Loss
For perimenopause or osteopenia: Cap at 10% body weight. This load optimally stimulates bone-building osteoblasts without compressing vertebrae. Prioritize 45-minute walks over heavier weight—duration drives density gains.
Hypermobile Individuals
Start at 3-5% body weight with vests featuring cross-chest straps. Heavy loads risk joint subluxation (partial dislocation) during arm swing. Add weight only after confirming zero joint “giving way” during squats.
Back/Neck Injury History
Require physician clearance first. Even 5% may be unsafe if vest shifts center of gravity. Test with 2-3 lb while lying prone—if pain increases, avoid vests entirely.
Vest Selection Criteria for Safe Progression

Avoid fixed-weight vests—they force dangerous jumps (e.g., 10 lb to 20 lb). Instead, prioritize:
– Micro-adjustability: Pockets holding 0.5-2 lb sandbags for precise 2-5% increments
– Torso-hugging fit: Vest shouldn’t bounce more than 1 inch vertically during stride
– Weight distribution: 55% front / 45% back ratio prevents forward lean
– Breathable mesh: Prevents overheating that accelerates fatigue
Beginner tip: Start with a 6-8 lb neoprene vest (max 10 lb). Upgrade to adjustable 20-30 lb model only after 6 weeks of pain-free walking.
Real-World Loading Examples
135 lb Beginner with Joint Sensitivity
Started at 6.75 lb (5%). Held this weight for 3 weeks while fixing posture cues. Progressed to 13.5 lb (10%) at week 5. Plateaued at 16 lb (12%) after noticing mild knee twinge at 15%. Now walks 40 minutes daily instead of adding weight.
190 lb Hiker Adding Bone Density
Already carried 20 lb packs on trails, so began at 19 lb (10%). Added 5 lb every 10 days while monitoring stride length. Stopped at 28.5 lb (15%) when breathing became labored at 3.5 mph. Now incorporates 5% incline walks.
Pre- and Post-Walk Protocols
Before walking: Perform 2 minutes of dynamic stretches—leg swings and torso twists—to prepare joints for load. Check vest height: Should sit 2 inches below collarbones, not pulling shoulders forward.
During walk: Every 5 minutes, reset posture:
1. Roll shoulders back 3x
2. Squeeze glutes to engage core
3. Verify heel-to-toe foot roll
After walking: Remove vest for final 5 minutes to let joints reset. Never skip this cool-down—abrupt unloading strains muscles adapted to the weight. Limit weighted walks to 3x weekly; alternate with unweighted days.
Final Weighting Rule: Lighter Wins Long-Term
Start at 5% of your body weight for two weeks, progressing only by 2-5% increments when posture and breathing stay perfect. Never exceed 20%, and prioritize walking longer or faster once you hit 15%. The vest that lets you walk pain-free for 45 minutes beats a heavier one you abandon after 10 minutes. Remember: Consistency builds results—not maximum load. When in doubt, drop the weight by 25% and enjoy the walk; you’ll gain more strength through sustainable practice than reckless overload. Your joints will thank you for decades.


