

You just bought an empty weighted vest shell, but now face the critical question: how to fill a weighted vest safely and effectively? Many beginners dump random materials inside only to discover uneven weight distribution, uncomfortable pressure points, or even dangerous leaks mid-workout. Proper filling transforms your vest from a potential hazard into a precision training tool that builds strength without straining joints.
Skipping the correct filling process risks back injuries, shoulder damage, and wasted money on replacement gear. This guide delivers field-tested methods used by strength coaches to achieve perfect weight distribution—whether you’re using commercial plates or household items like sand. You’ll learn exactly how much weight to start with, which materials prevent shifting during burpees, and the critical safety checks most DIYers overlook.
Select the Right Fill Material for Your Vest Design
Commercial Weight Options That Won’t Shift Mid-Workout
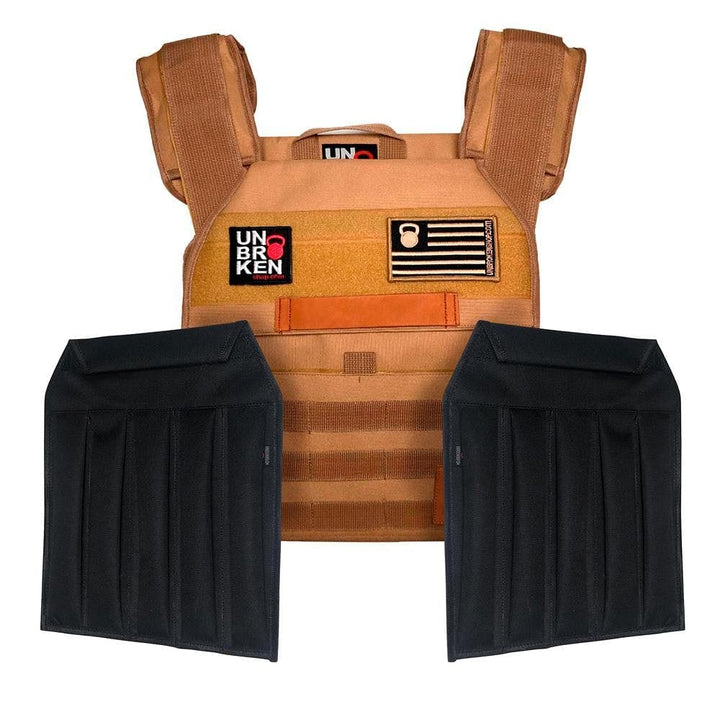
Metal plates (steel or iron) slide cleanly into dedicated sleeves of plate-compatible vests, providing exact weight increments without movement. Cast iron ingots work similarly but require fabric wrapping to prevent fabric abrasion. For maximum density in minimal space, lead shot encased in secure pouches fits compact vests—ideal when every inch counts during sprints. Avoid loose metal rods; they migrate during dynamic movements, creating dangerous imbalances.
DIY Budget Solutions That Won’t Leak or Degrade
Sand remains the top DIY choice—cheap, accessible at hardware stores, and naturally conforms to your torso. Use play sand (pre-washed and fine) to minimize leakage risks. Rice offers a lighter, easier-to-clean alternative but attracts pantry moths if pouches aren’t triple-sealed. For concentrated weight, small metal objects like washers work well in fabric pouches—wrap sharp edges with duct tape to prevent fabric tears. Skip gravel; its jagged edges create painful pressure points during planks or lunges.
Calculate Your Safe Starting Weight Before Adding Any Fill

The Body Weight Formula That Prevents Injury
Beginners must start at just 5-10% of your body weight—this critical safety margin protects joints while allowing adaptation. Intermediate users progress to 10-15%, while elite athletes cap at 15-20% maximum. Never exceed 20% regardless of fitness level; studies show this threshold dramatically increases spinal compression risks. For a 150-pound person, that means starting with just 7.5-15 pounds total distributed across the vest.
Progressive Loading Schedule for Sustainable Gains
Follow this two-week incremental plan to build tolerance safely:
– Weeks 1-2: 5% body weight (e.g., 7.5 lbs for 150-lb user)
– Weeks 3-4: 7.5% body weight
– Weeks 5-6: 10% body weight
– Increase by 2.5% every two weeks thereafter
Skipping ahead causes micro-tears in stabilizing muscles—wait until you complete full workouts without pain before adding weight.
Fill Commercial Plate Systems Without Causing Chafing
Plate Insertion Process That Secures Weight During Sprints
- Lay vest flat and open all compartment flaps
- Insert plates with smooth edges facing your body—rough sides out prevent skin abrasion
- Slide plates fully into slots until they click or bottom out
- Shake vest gently to confirm no shifting occurs
- Double-check zippers/velcro—a single unsecured flap during box jumps risks sudden weight loss
Pro tip: Label plates with masking tape (e.g., “2.5lbs”) to track total weight. Never force plates; if they don’t slide smoothly, your vest size is mismatched.
Pouch-Based Systems for Perfect Front-Back Balance
Remove empty pouches before filling. Weigh each pouch individually on a kitchen scale for precision—aim for 1-3 lbs per pouch. Seal with zip-locks plus velcro reinforcement, then insert heaviest pouches at shoulder level and lightest near the ribs. This top-heavy distribution mimics natural body weight, reducing lower back strain during squats.
Fill DIY Weighted Vests Using Household Items Safely

Sand/Rice Filling Method That Won’t Leak During Burpees
Create sealed packets using heavy-duty freezer bags or sewn fabric pouches. Measure exact weights (e.g., 1 lb per bag) on a scale, leaving 1.5 inches empty at the top for sealing. Triple-seal every packet: zip-lock closure + duct tape around edges + waterproof tape over seams. Insert packets starting at the shoulders—place your 3-lb bags highest and 1-lb bags lowest to maintain center of gravity.
Metal Object Method That Won’t Tear Your Vest
Count identical washers (e.g., 20 per pouch) for uniform weight distribution. Wrap each washer bundle in felt or duct tape to cushion sharp edges. Place bundles into canvas pouches, then sew pouches shut permanently—no zippers that could fail during high-impact moves. Test by shaking the vest vigorously; if you hear metal clinking, add more fabric wrapping.
Achieve Perfect Weight Distribution in 5 Minutes
Balance Testing Protocol Before Your First Workout
Wear the empty vest to confirm no rubbing at armpits or waist. Add weight in 2-lb increments, walking for 2 minutes between additions. Stand before a mirror: if the vest tilts left/right, redistribute weight within compartments. Perform 5 bodyweight squats—weight shouldn’t slide downward. Finally, jump rope for 30 seconds; excessive bouncing means pouches aren’t fully secured.
Fine-Tuning Adjustments for Comfort During Long Sessions
Fix front-back imbalance by moving 0.5 lbs from the heavier side to the lighter side. If the vest rides up during running, add 0.25 lbs to lower front compartments. For shoulder pain, shift 1 lb from top back compartments to mid-torso front pockets. Never ignore pressure points—they indicate dangerous concentration that could cause nerve damage.
Safety Checks That Prevent Mid-Workout Disasters
Weekly Inspection Routine Taking Under 60 Seconds
After each use, run fingers along all seams to detect sand leakage or fabric thinning. Yank straps firmly to test buckle integrity—frayed webbing fails under load. Check contact points (shoulders, ribs) for worn patches; replace vest if material shows transparency. One client avoided a herniated disc when this check revealed a hidden tear near the spine.
Monthly Deep Maintenance for Longevity
Empty all compartments and wipe interiors with a dry microfiber cloth. Inspect sand for clumping (sign of moisture absorption) or rice for musty odors (indicates mold). Replace duct tape seals monthly—adhesive degrades faster than you think. For metal plates, apply 3-in-1 oil to prevent rust during humid months.
Storage Best Practices to Prevent Material Degradation
Sand-Filled Vest Storage That Stops Moisture Damage
Store upright in a ventilated closet—never folded in a gym bag where humidity causes sand to harden. Drop 2 silica gel packets into the storage container to absorb ambient moisture. Inspect monthly for bugs; rice-filled vests attract weevils within weeks if not sealed airtight.
Metal Plate Storage That Eliminates Rust
Wipe plates with a dry cloth after every sweaty session—salt residue accelerates corrosion. Store plates separately from the vest on a shelf; constant pressure weakens fabric. For seasonal storage, coat raw steel plates with mineral oil and wrap in wax paper.
Warning Signs to Stop Immediately During Training
Visual Red Flags Indicating Vest Failure
Replace your vest NOW if you spot:
– Visible tears in weight compartments (even hairline cracks)
– Velcro that no longer grips after 3 uses
– Metal plates with rust spots or hairline fractures
– Unusual bulges suggesting internal pouch rupture
Unusual odors (sour, musty) mean organic fills like rice are decomposing—inhaling mold spores risks respiratory issues.
Physical Warning Signs of Dangerous Overload
Discontinue use immediately when experiencing:
– Sharp shoulder or lower back pain during walking
– Shortness of breath at rest post-workout
– Noticeable forward lean while moving
– Fatigue that lasts over 48 hours
Your body’s signals matter more than hitting a target weight—pushing through these symptoms risks permanent joint damage.
Pro Tips for Long-Term Success From Strength Coaches
Log every session noting total weight and discomfort levels—this prevents accidental overloading by 10%. Keep spare pouches filled with rice for active recovery days; the lighter load maintains muscle memory without strain. Rotate fill materials weekly (sand one session, metal plates the next) to prevent compartment fatigue. Most importantly, start lighter than you think—a properly filled 10-lb vest used consistently beats a poorly loaded 20-lb vest that sits unused. When you master how to fill a weighted vest correctly, it becomes your most versatile tool for building bulletproof strength.


