
Your new Rogue weight vest arrives in a compact box, plates rattling inside like mysterious cargo. You’ve seen athletes crushing Murph with 20 pounds strapped to their chest, but right now you’re staring at adjustable straps and wondering which plate goes where. Getting this setup wrong means bouncing plates during box jumps or worse—a vest that slides around mid-workout. This critical first step determines whether your vest becomes a performance enhancer or an annoying distraction.
This guide walks you through every adjustment, plate placement, and safety check so your vest feels like a natural extension of your body. Whether you’re adding resistance to push-ups or training for your first weighted run, these steps ensure maximum performance and zero distractions. The primary keyword “how to set up rogue weight vest” appears naturally as we dive into the exact process you need to follow for optimal results.
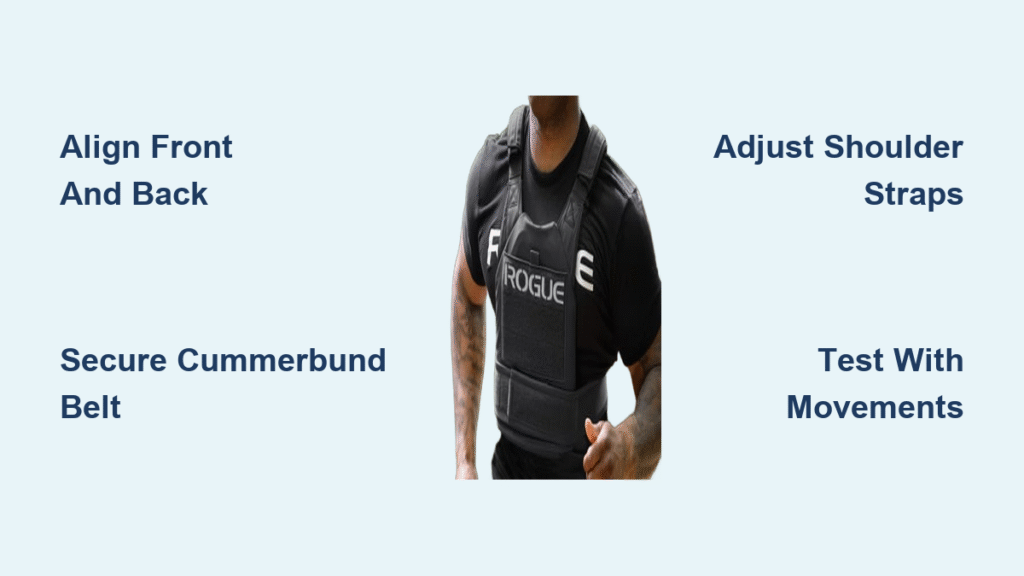
Identify Vest Front and Back Correctly
Look for the Rogue logo—this always faces forward on authentic vests. The front panel typically has a kangaroo pouch for phone storage and quick-access items. Back panels feature larger velcro areas for patch placement and usually lack storage pockets. This distinction matters because placing the vest backward creates immediate discomfort and improper weight distribution.
Curved plates create the difference: front plates curve inward to match your chest, while back plates curve outward following your spine’s natural shape. Hold each plate against your body to confirm the curve direction—getting this wrong creates uncomfortable pressure points during movement. If you feel sharp edges digging into your ribs during push-ups, you’ve likely reversed your plates.
Check strap orientation before adding weight. Shoulder straps anchor at the top of the back panel and thread through the front. The cummerbund belt attaches to the back panel’s sides and wraps forward. This matters because reversed setup prevents proper weight distribution across your torso, leading to posture issues and potential injury during high-rep workouts.
How to Verify Proper Vest Orientation
Stand in front of a full-length mirror while holding the vest. The logo should face outward, with the kangaroo pocket positioned on the upper chest area. Shoulder straps should hang downward from the top of the vest, not upward. The cummerbund attachment points should sit at your sides, not your front or back. If anything feels awkward when holding it this way, double-check your vest orientation before proceeding.
Install Weight Plates Without Common Errors

Start with lighter plates even if you’re experienced with weight training. Rogue’s 5.75-pound curved plates fit most users for initial setup. Slide plates into internal sleeves—these fabric pockets run vertically inside both front and back panels. Never force plates; they should slide in smoothly with minimal resistance.
Push plates down firmly until they seat at the bottom of each pocket. You should hear a soft thump when properly positioned. Check plate alignment—the curved side faces your body, flat side against the vest exterior. Misaligned plates dig into ribs during running and create pressure points that distract from your workout.
Why Plate Placement Affects Your Performance
Improper plate installation causes more workout interruptions than any other vest issue. Plates that aren’t fully seated will shift during jumping movements, creating an unstable load that forces your core to compensate. This not only reduces training effectiveness but increases injury risk. During burpees or box jumps, improperly installed plates can shift upward, hitting your chin or neck—never a good experience mid-workout.
Secure Cummerbund Belt for Zero Bounce
Wrap the cummerbund around your torso like a weightlifting belt. Position it at your natural waistline—the narrowest part of your torso, not your hips. This placement prevents vertical movement during explosive exercises while allowing full breathing capacity during high-intensity intervals.
Pull firmly but don’t overtighten—you should fit two fingers between belt and body. Too tight restricts breathing during high-intensity intervals. The belt’s job is preventing bounce, not creating compression like a weight belt. When properly secured, the vest moves as one unit with your body during dynamic movements.
How to Test Your Cummerbund Security
After securing the cummerbund, jump in place 10 times while monitoring vest movement. The vest shouldn’t shift more than half an inch vertically. If it rides up, tighten the cummerbund slightly or reposition higher on your waist. For running workouts, this test is non-negotiable—bouncing vests dramatically increase impact on joints and reduce workout efficiency.
Adjust Shoulder Straps for Optimal Range of Motion

Loosen both shoulder straps completely before putting on the vest. These wide velcro straps should hang loose enough to slip over your head like a t-shirt. Stand in front of a mirror to monitor strap placement during adjustment—this visual feedback prevents common setup mistakes.
Tighten straps incrementally—pull each strap forward and press velcro firmly. The vest should sit high on your chest, approximately two finger-widths below your collarbone. Too low and plates bounce against your stomach during jumping movements. Proper placement keeps the center of gravity aligned with your natural movement patterns.
Shoulder Strap Adjustment Mistakes to Avoid
Many users make the critical error of tightening shoulder straps too much, restricting shoulder mobility during overhead movements. The vest should feel secure but never constricting. If you can’t comfortably raise your arms overhead without shoulder restriction, your straps are too tight. Uneven strap length causes the vest to twist during workouts, creating hot spots and chafing that force you to stop mid-WOD.
Test Fit with Your Specific Workout Movements
Perform a bodyweight squat—knees track over toes without vest interference. Watch for plate shifting at the bottom position. Plates should stay vertical, not tilting forward or backward. If plates shift during squats, your cummerbund needs tightening or repositioning.
Try push-ups next: hands shoulder-width apart, lower chest to floor. The vest should stay centered without sliding to either side. Adjust shoulder straps if vest rotates during this movement. Push-ups reveal improper vest fit faster than any other test—properly fitted vests stay perfectly centered throughout the movement.
Movement-Specific Fit Testing
Simulate your intended workout: burpees, running in place, or pull-ups. Listen for plate rattling—this indicates loose fit or incorrect plate installation. Complete 10 reps of your hardest movement to confirm vest stability before adding heavier plates. For Murph preparation, test with 10 push-ups, 10 air squats, and 10 burpees to ensure the vest performs under metabolic stress.
Add Weight Progressively Without Injury Risk

Start with 25% of your bodyweight for running or high-rep workouts. A 150-pound athlete begins with 10-12 pounds total (5-6 pounds front and back). Build gradually—add 2-3 pounds weekly to adapt joints and connective tissue. Rushing weight progression causes more vest-related injuries than improper fit.
Use Rogue’s weight progression chart: 5.75 → 8.75 → 14 → 20 pounds per plate. Never exceed 20 pounds per plate in standard vests—heavier loads require specialized carriers. Track your adaptations in a training log to prevent overloading and recognize when your body needs more adaptation time.
Weight Distribution Guidelines for Different Workouts
Balance workout types: use lighter weights for metabolic conditioning, heavier loads for strength work. Running with 20 pounds differs dramatically from 20-pound weighted pull-ups. Adjust based on movement demands rather than always maxing out capacity. For pull-ups, prioritize back plate weight; for running, maintain equal front-back distribution to preserve natural running form.
Safety Checks That Prevent Mid-Workout Disasters
Test all velcro with a firm tug—worn velcro releases unexpectedly during box jumps. Check plate edges for burrs or sharp spots that tear fabric or scratch skin. Replace damaged plates immediately—compromised plates can crack under stress, creating dangerous shrapnel during high-impact movements.
Verify strap buckles click securely and release smoothly. Stuck buckles become dangerous during emergency removal. Practice quick removal in a safe environment—you should shed the vest in under 5 seconds. This skill could prevent serious injury if you trip while wearing significant weight.
How to Perform Pre-Workout Safety Checks
Before each use, conduct a 30-second safety check: tug all velcro sections firmly, inspect plate edges for damage, confirm even strap tension, and test quick release mechanisms. This routine takes minimal time but prevents the vast majority of vest-related workout interruptions and potential injuries. Many athletes skip this step until they experience a mid-WOD vest failure—don’t wait for that wake-up call.
Your Rogue weight vest now fits like custom equipment. The plates sit securely, straps distribute weight evenly, and the cummerbund prevents bouncing during box jumps. Start with lighter loads and shorter sessions—your body adapts faster than you think, but connective tissue needs time. Track your progress, adjust gradually, and soon you’ll forget the vest is even there during workouts. Remember the core principle of how to set up rogue weight vest correctly: proper initial setup prevents 90% of common vest issues, letting you focus on performance rather than equipment distractions.


