
That first time you strap on a weighted vest, you might feel like a superhero—until your knees start screaming after 10 minutes of walking. Many people grab the heaviest vest they can find, slap on 20 pounds, and wonder why they’re limping for days. But here’s the truth: how to use a weighted vest safely separates those who build real strength from those stuck on the injury bench. Research confirms vests at just 10% of your body weight significantly boost calorie burn and bone density—but only when applied correctly. Skip these steps, and you’ll sabotage your progress with joint damage or poor form.
This isn’t about brute force. It’s about strategic loading that turns your daily walk into a metabolic furnace while protecting your spine and knees. Forget generic advice like “start light.” You’ll learn exactly how much weight to add for your first walk, why 90% of beginners choose the wrong vest style, and the single mistake that spikes lower back pain. Let’s fix your technique before your next session.
Pick Your Vest Style Based on Actual Movement

Shoulder-Holster Vests Cause Less Overheating During Long Walks
If you’re walking or hiking, avoid torso-covering designs that trap heat. Shoulder-holster vests (like a slim hydration pack) distribute weight along your upper back and chest straps. This leaves your core breathable while preventing bounce during strides. Test fit by jumping in place—if the vest rides up toward your ears, the shoulder pads are too narrow for your frame.
Tactical Plate Carriers Prevent Weight Shift During Burpees
For explosive moves like box jumps or burpees, tactical vests with front/rear plate sleeves lock weight securely against your torso. Standard pocketed vests let sandbags slide downward during dynamic motions, forcing your lower back to compensate. Look for carriers with internal mesh lining—this stops steel plates from clanging against your sternum on landings.
Female-Specific Cuts Eliminate Chest Pressure During Push-Ups
Standard vests dig into breast tissue during planks, causing women to arch their backs unnaturally. Female-specific models angle the weight distribution outward from the sternum. When testing, perform 5 slow push-ups against a wall—if you feel pressure under your collarbones instead of breast tissue, the vest fits correctly.
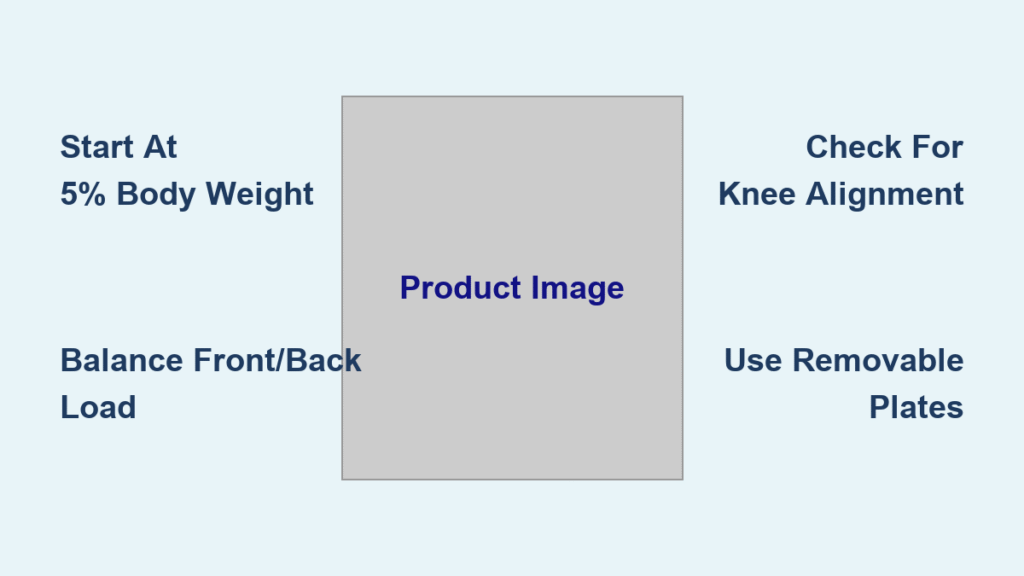
Load Your Vest Using the 5% Body Weight Rule (Not 10%)
Why Starting at 5% Prevents Knee Collapse During Lunges
New research shows beginners load vests at 12% of body weight on day one—far exceeding safe limits. Your first session should use 5% of your body weight max, split equally front-to-back. For a 150-pound person, that’s just 7.5 pounds total. Load too heavy, and your knees cave inward during lunges as stabilizer muscles fatigue. You’ll feel it as a sharp pop in the joint—not soreness.
Fixed-Weight Vests Guarantee Early Plateaus—Use Removable Inserts Instead
Avoid vests with sewn-in weights. They force you to jump from 10 to 15 pounds overnight, skipping critical adaptation phases. Choose models with 1–2 pound removable steel plates. During week one, add only 1 pound total when 10-pound squats feel effortless. Your progression should feel boringly slow—like gaining strength without pain.
First-Time Setup: The 5-Step Vest Audit Before Moving
Stop Vest Bounce With the Jumping Jack Test
Strap on your empty vest and tighten all buckles. Perform 10 jumping jacks. If the vest shifts upward more than 2 inches, cinch the side straps until it stays glued to your ribcage. Loose vests transfer impact forces to your spine instead of your legs.
Balance Front/Back Weight to Avoid Lower Back Strain
Insert half your starting load (e.g., 2.5 pounds) into front pockets and half into rear pockets. Uneven loading—like 5 pounds only in the back—forces you to lean forward, spiking shear forces on lumbar discs. Check alignment by standing against a wall; your head, shoulders, and butt should touch simultaneously.
Warm Up Joints With Vest-Specific Mobility Drills
Skip standard stretches. Do 5 minutes of:
– Ankle circles with vest on (prevents calf strain)
– Cat-cow stretches while wearing vest (maintains spinal flexibility under load)
– Walking lunges with hands on hips (activates glutes to stabilize added weight)
Progress Weekly Using the 1-Pound Threshold Rule
Add Weight Only When Form Stays Perfect for 3 Consecutive Sessions
Track two non-negotiables:
1. Your knees stay aligned over toes during weighted squats (no inward collapse)
2. You complete all reps without hunching shoulders
If either fails, maintain current weight another week. Pushing through flawed form at 12 pounds guarantees knee damage by week six.
Never Exceed 10% Body Weight for Running—Here’s Why
Runners often load vests to 15% body weight, ignoring research showing impact forces spike 25% per added 10 pounds. At 150 pounds, that’s 37.5 pounds of extra stress per footstrike—enough to fracture shins. Stick to 10% max (15 pounds) and avoid downhill running until adapted.
Fix These 3 Weighted Exercise Form Breakdowns Immediately
Why Your Weighted Push-Ups Fail at Half-Depth (And How to Fix It)
Vest thickness blocks full range of motion, causing people to cheat by shortening reps. Solution: Elevate hands on push-up bars or stacked books. Your chest must touch the surface—no exceptions. If you can’t reach full depth, reduce vest weight by 2 pounds.
The Squat Cue That Prevents Knee Valgus Under Load
Say “spread the floor” as you descend. This externally rotates hips, keeping knees tracking over toes. Without it, added weight forces knees inward, straining ACLs. Film yourself—any knee cave means immediate weight reduction.
Stop Lunges That Feel Like Deadlifts
If your torso pitches forward during weighted lunges, you’re overloading your lower back. Take a 6-inch longer step than usual and push through the front heel to stand. If your back still rounds, cut vest weight by 25%.
Spot These 3 Red Flags Before They Require Physical Therapy
Sharp Knee Pain During Walking Means You Ignored the 5% Rule
Joint pain—not muscle soreness—is your body screaming “too much.” Stop immediately. Apply ice for 20 minutes. Next session, reduce weight by 50% and walk on flat surfaces only. Ignoring this leads to patellar tendinitis within two weeks.
Lower Back Numbness Signals Dangerous Spinal Loading
Numbness or tingling means nerve compression from uneven weight distribution. Stop all vest use. Check if front/back weight is balanced and straps are too loose. Consult a physical therapist before reloading.
Shortness of Breath Beyond Normal Effort Requires Medical Clearance
If you gasp for air during 10-pound weighted walks (when you normally handle 20-pound backpacks), you may have undiagnosed hypertension. Stop vest training and get cardiac clearance—especially if over 40.
Weekly Maintenance That Doubles Vest Lifespan
Clean Vest Shells Without Ruining Straps
Remove all weights. Dampen a microfiber cloth with water/vinegar mix (1:1). Wipe interior mesh—never soak. Air-dry flat for 24 hours. Machine washing melts neoprene padding, causing straps to stretch.
Store Plates Separately to Prevent Pocket Tears
Keep steel plates in labeled zip bags (e.g., “5lb Front”). Hanging a loaded vest stretches shoulder straps. Store empty on a wide wooden hanger—wire hangers create permanent creases in load-bearing panels.
Inspect Monthly for Hidden Damage
Check where weight pockets meet seams. Run fingers along stitching—if you feel loose threads, reinforce with nylon repair tape. Frayed seams during burpees can dump 10 pounds onto your feet.
Your 60-Second Vest Readiness Checklist
[ ] Vest stays put during 10 jumping jacks (zero bounce)
[ ] Starting load = 5% body weight (e.g., 7.5 lbs at 150 lbs)
[ ] Front/back weight balanced (wall test passed)
[ ] Knees track over toes during 10 squats (no cave)
[ ] Zero joint pain after first 15-minute walk
[ ] Removable plates for 1–2 lb weekly increases
Using how to use a weighted vest correctly transforms ordinary movement into accelerated strength gains—without the injuries that sideline 70% of beginners. Stick to the 5% starting rule, prioritize form over weight, and listen when your joints protest. In six weeks, that 10-pound vest will feel like nothing as you burn 20% more calories on the same route. Now go lace up—your smarter, stronger stride starts today.


