

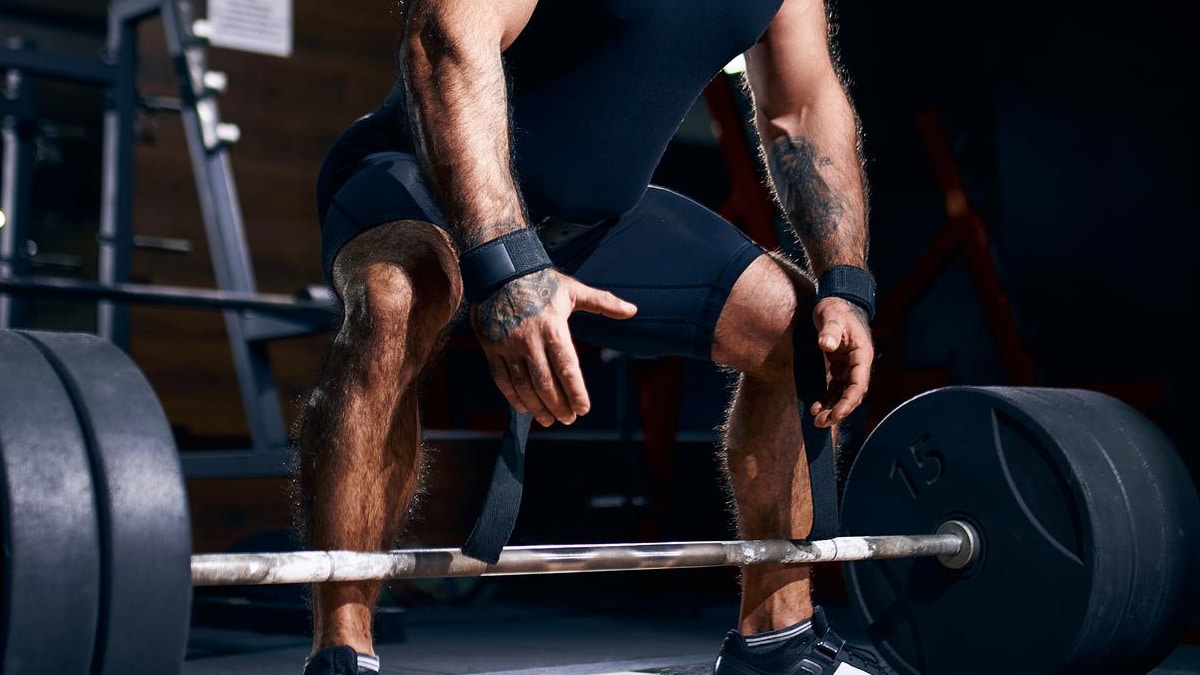
Your grip fails before your back muscles even feel the burn during heavy deadlifts. That frustrating moment when your fingers slip off the bar just as you’re hitting your peak power—weight lifting wrist straps solve this exact problem by creating an unbreakable connection between your hands and the bar. These simple accessories let you train heavier and longer by redirecting the weight load from your fingers to your wrists.
Struggling with grip strength shouldn’t limit your back development or trap growth. When used correctly, wrist straps become your secret weapon for breaking through plateaus. This guide shows you exactly how to use weight lifting wrist straps across all major strap types, avoiding dangerous mistakes that could compromise your safety or results.
Choose Your Strap Type for Specific Lifting Needs

Lasso Straps: The Deadlift Powerhouse
Lasso straps dominate serious lifting sessions for good reason—they provide unbeatable versatility for heavy pulling movements. These 50-76 cm straps feature an extended tail that wraps multiple times around the bar, creating a custom-tight grip that won’t slip during max-effort deadlifts. Beginners love their forgiving learning curve, while competitive lifters appreciate how they secure the bar without compromising wrist mobility.
Pro tip: If you’re just starting with straps, choose lasso style with added padding. The extra cushioning prevents blisters during your first few strap-assisted sessions while you perfect your wrapping technique.
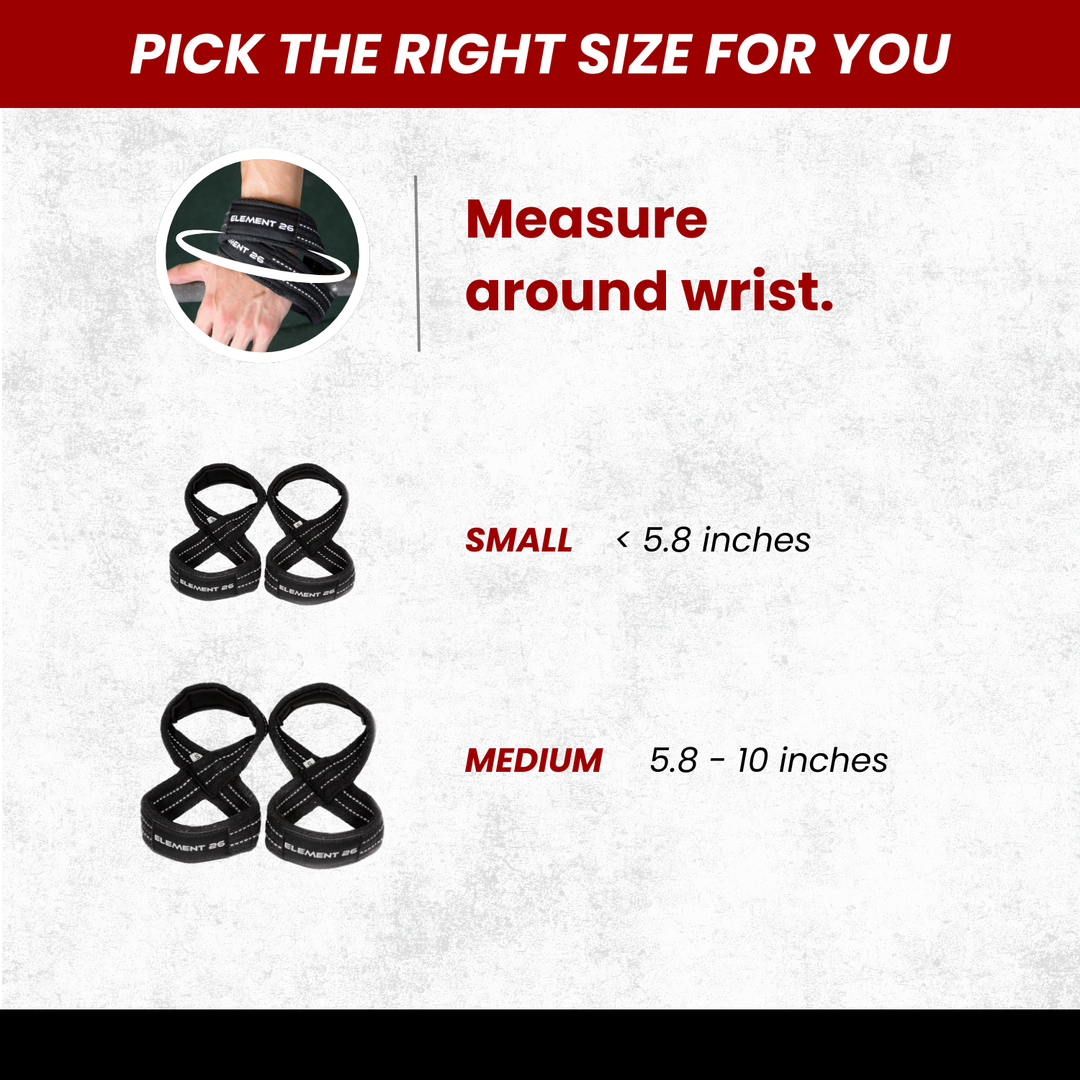
Figure-Eight Straps: Zero-Slip Security for PR Attempts
When you’re pulling 500+ pounds, figure-eight straps become essential safety equipment. Their distinctive double-loop design locks your wrist to the bar like a seatbelt, eliminating any possibility of slippage during maximum-effort lifts. The figure-eight configuration creates a mechanical advantage that transfers nearly all grip responsibility from your hands to your wrists.
Warning: These straps require practice for emergency release. Before using them with heavy weights, rehearse quickly loosening one loop in case you need to drop the bar mid-lift.
Olympic Straps: The Speed-Focused Solution
Olympic lifters need straps that release instantly during failed lifts. Closed-loop straps provide the fastest disconnect mechanism but offer minimal grip support. Reserve these for snatch, clean-and-jerk, and other explosive movements where rapid bar release matters more than maximum grip security.
Key insight: Never use Olympic straps for deadlifts—they simply can’t handle the sustained tension of heavy pulling movements.
Prep Straps Correctly Before Every Lift
Always inspect your straps before loading the bar. Run your fingers along the entire length checking for frayed edges, stretched loops, or torn stitching—any compromise in integrity puts you at serious risk during heavy lifts. Position your bar at mid-shin height for deadlifts or just below knee level for rack pulls to prevent awkward bending when applying straps.
Critical mistake to avoid: Twisted straps create weak points that fail under load. Hold both ends and shake out the strap before use to ensure no hidden twists exist between the wrist and bar connection points.
Wrap Lasso Straps for Unshakable Bar Connection
- Create the wrist loop: Thread the tail through the small loop, forming a circle that fits snugly where your palm meets wrist
- Position correctly: Slide the loop over your dominant hand, resting it at the natural crease between hand and forearm
- Achieve perfect tightness: Pull the tail until the loop sits firmly—your fingers should stay warm with no tingling
- Approach the bar: Place your strapped hand palm-down on the bar with thumb wrapped underneath
- Wrap strategically: Bring the tail under the bar, then wrap away from your body in smooth motions
- Lock with final wraps: Complete 2-3 wraps (more wraps = tighter grip), then rotate your hand toward your body to cinch everything tight
- Match both sides: Repeat identical steps for your non-dominant hand—uneven strap tension creates dangerous bar rotation
Time-saving trick: Practice wrapping with an empty bar until the process takes under 30 seconds per hand. Smooth application prevents fumbling during heavy working sets.
Master Figure-Eight Technique for Maximum Security
- Hold both loops: Keep one loop in each hand, letting the strap hang naturally between them
- First wrist loop: Slide your dominant hand through one loop until it rests at your wrist crease
- Bar contact point: Place your strapped hand palm-down on the bar with thumb wrapped underneath
- Complete the eight: Bring the second loop under the bar, then up and over your hand in one smooth motion
- Verify security: Both loops should rest flat on your wrist with the bar locked in the middle intersection
- Final tension check: Pull against the straps—zero movement means you’re ready to lift
Visual cue: When properly applied, the figure-eight pattern should be clearly visible with no slack in either loop.
Apply Olympic Straps for Rapid Release Safety
- Form the circle: Create a hand-sized loop with the strap that slides easily over your hand
- Wrist placement: Position the loop at the natural crease where your palm meets your wrist
- Bar interface: Place your hand on the bar with strap material between palm and metal surface
- Grip integration: Close your fist around both bar and strap simultaneously, creating one unified grip point
This minimalist approach works only for experienced lifters who prioritize speed over security—never use this method for heavy deadlifts.
Target the Right Exercises for Strategic Strap Use
Deadlift Variations That Demand Straps
Use straps for conventional, Romanian, and sumo deadlifts when working above 80% of your max. Grip failure should never cut short your back and hip development. Critical threshold: If you can’t complete 5+ reps with strict form due to grip limitations, straps become necessary equipment.
Heavy Rows That Benefit Most
Barbell rows, T-bar rows, and cable rows all benefit significantly from strap assistance. Focus on pulling with your lats and rhomboids instead of fighting to hold the bar. Pro insight: When straps eliminate grip concerns, you’ll immediately feel better back engagement.
High-Volume Pull-Ups and Shrugs
Weighted pull-ups and sets exceeding 10 reps become manageable with straps. Save your grip strength for the actual pulling motion rather than holding position. Key application: Use straps on your final burnout set after completing natural-grip working sets.
Skip straps for: All pressing movements, Olympic lifts, and warm-up sets. Build natural grip strength when loads stay below 70% of your max.
Avoid These Dangerous Strap Mistakes
Tightness Errors That Cause Injury
Too loose: Creates dangerous instability that can lead to bar slippage mid-lift. Test security by trying to rotate the bar in your grip before lifting.
Too tight: Numb fingers indicate restricted circulation. You should be able to make a complete fist without tingling or color changes in your fingers.
Positioning Problems That Reduce Effectiveness
High on forearm: Reduces mechanical advantage and creates painful pressure points. Straps belong at the natural wrist crease, not higher on your forearm.
Low on fingers: Compromises leverage and creates awkward pulling angles. The wrist loop should sit firmly where your palm meets your wrist.
Over-Reliance That Weakens Natural Grip
Using straps for every set sabotages your forearm development. Strategic rule: Reserve straps for your heaviest working set only, adding them to earlier sets only as weights increase beyond 85% of your max.
Maintain Your Straps for Long-Term Safety
Cleaning Schedule by Material
- Cotton straps: Machine wash cold after every 5-7 uses, air dry completely
- Nylon straps: Hand wash with mild soap after heavy sweat sessions, never machine dry
- Leather straps: Condition monthly with leather protector, never submerge in water
Warning: Never store damp straps—they develop mold that weakens fibers and creates dangerous failure points.
Replacement Timeline Indicators
Replace straps immediately when you notice:
– Visible fraying or thinning at stress points
– Stretched loops that won’t tighten properly
– Torn stitching at connection points
– Loss of grip security during lifts
Pro tip: Keep a backup pair in your gym bag—strap failure mid-set creates immediate danger.
Maximize Performance with Strategic Implementation
Volume Building Protocol
Use straps to complete 2-3 extra reps when grip fails first. This added volume drives muscle growth without compromising form. Track this: Note when you need straps—this reveals grip strength imbalances needing targeted development.
Form Focus Opportunities
With grip secured, concentrate on:
– Deadlifts: Perfect hip hinge mechanics and lat engagement
– Rows: Scapular retraction and controlled elbow drive
– Pull-ups: Full range of motion and deliberate eccentric lowering
Key benefit: Straps allow you to experience proper muscle engagement without grip limitations masking technique flaws.
Critical takeaway: Wrist straps aren’t cheating—they’re precision tools for overcoming grip limitations that would otherwise cap your strength development. Use them strategically on your heaviest sets while continuing to train natural grip strength with dedicated forearm work.
Final action step: Start with lasso straps and practice the wrapping sequence until it becomes automatic. Your back muscles will thank you when grip stops being the limiting factor in your training—just remember to keep straps in their proper place as strategic tools, not crutches. Mastering how to use weight lifting wrist straps correctly unlocks new levels of pulling strength while keeping you safe under heavy loads.


