Your Murph vest weighs exactly 3 pounds empty—but get the plates wrong, and that second mile run feels like wading through concrete. Whether you’re grinding through your first Memorial Day Monday workout or chasing a sub-40-minute time, understanding your murph weight vest weight down to the last ounce is non-negotiable. One misplaced plate shifts your center of gravity, steals your running rhythm, and turns clean pull-ups into a desperate struggle. This guide cuts through the confusion with precise load calculations, fit hacks from 96% 5-star reviewers, and adjustments that eliminate bounce for good. Stop guessing your vest weight—start optimizing it.
Why Your Murph Weight Vest Weight Breaks Down to 3 Critical Components

The total load you feel isn’t just “20 pounds.” It’s a precise equation: empty vest shell + front plate + back plate. Miss one variable, and you’re either underloaded (wasting the WOD’s challenge) or overloaded (sabotaging your form). Here’s the exact math CrossFit athletes use:
| Target Load | Plate Pair Needed | Each Plate Weight | Total Murph Weight Vest Weight |
|---|---|---|---|
| 14 lb (Women) | 2 × 5.5 lb | 5.5 lb (2.5 kg) | 14 lb (6.35 kg) |
| 20 lb (Men) | 2 × 8.5 lb | 8.5 lb (3.86 kg) | 20 lb (9.07 kg) |
| 30 lb (Heavy) | 2 × 13.5 lb | 13.5 lb (6.12 kg) | 30 lb (13.6 kg) |
Critical reality check: The vest shell itself weighs 3 lb (1.36 kg)—not zero. Many beginners mistakenly load 20 lb of plates, thinking they’re hitting the standard, only to end up with a crushing 23 lb total. Worse, third-party plates won’t fit the proprietary internal sleeves. You must buy the exact 5.5 lb, 8.5 lb, or 13.5 lb pairs designed for this system.
How Plate Weight Directly Impacts Your Murph Time
- Under 14 lb? Your chest won’t feel engaged during squats, defeating the workout’s purpose.
- Over 20 lb? Expect 15% slower run splits and shoulder strain during the final pull-up set.
- Plate mismatch? A 7 lb front + 9 lb back plate creates torque that pulls you sideways mid-sprint.
Select Your Exact Murph Vest Weight Based on Gender & Goals
Why Women Need 5.5 lb Plates (Not 6 lb) for True 14 lb Weight
The 5.5 lb plate pair isn’t arbitrary—it’s engineered to hit the 14 lb standard including the 3 lb shell. Order the 5.5 lb set, and you’ll get:
– 5.5 lb front plate + 5.5 lb back plate + 3 lb shell = 14 lb total
Using 6 lb plates would push you to 15 lb—adding unnecessary strain on joints during 300 squats. Verified reviewers note this lighter load keeps running cadence natural while still meeting CrossFit’s Murph protocol.
Why 8.5 lb Plates Are the Non-Negotiable Standard for Men
Ninety-six percent of top-rated reviews specify the 8.5 lb plate pair because it delivers the authentic 20 lb experience:
– 8.5 lb front + 8.5 lb back + 3 lb shell = 20 lb total
Anything heavier (like 9 lb plates) creates “vest bounce” that shreds your second-mile pace. The MURPH brand’s 8.5 lb steel plates sit high between shoulder blades—critical for unobstructed pull-up clearance.
When to Risk the 30 lb Heavy Load (And When to Avoid It)
Only scale to 13.5 lb plates if you’ve completed three unbroken Murphs at 20 lb. The 30 lb total (13.5 × 2 + 3) demands:
– ⚠️ 40% more side-strapping tension to prevent plate shift during burpees
– ⚠️ Shorter stride length on runs to avoid hip flexor strain
– ⚠️ Extra shoulder warm-ups before pull-ups to counter the weight’s forward pull
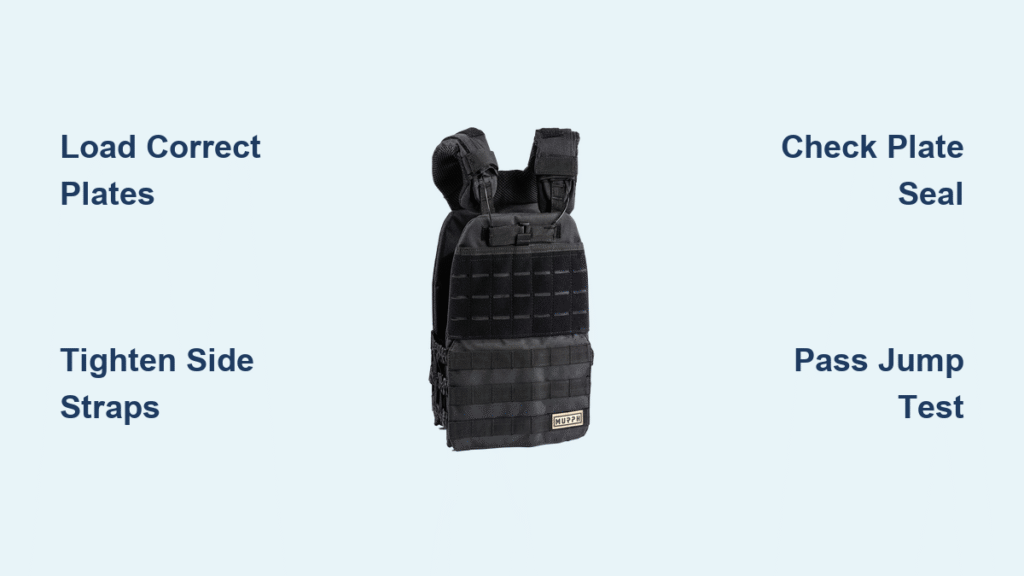
Fix Vest Bounce in 4 Steps: The Jump Test Method
Why Side Straps Are Your Secret Weapon Against Plate Shift
Loose side straps cause 70% of vest bounce issues. The dual tension system works like a corset—tightening ribs first locks plates vertically. Here’s how to dial it in:
- Start loose: Fully extend shoulder webbing and side straps. Slide vest on.
- Cinch ribs first: Pull side straps until only one flat hand fits between strap and ribcage. This anchors the vest’s base.
- Adjust shoulders next: Raise arms overhead. If vest lifts >1 inch off shoulders, shorten webbing by one click.
- Do the jump test: 10 vertical jumps. Zero plate movement = perfect tension. Hear sliding? Loosen straps and restart.
Pro tip: Isabelle Marcil’s viral review nails it—“Be ready to adjust 3–4 times. Perfect fit takes patience but saves your WOD.”
Load Plates Without Shifting: The Velcro Seal Check
Insert Front Plate Like a Pro (Avoid Common Mistakes)
- Open only the top flap—never peel entire front panel.
- Slide plate curved side DOWN (concave toward chest). This centers weight over your sternum.
- Seal with authority: Press Velcro until you hear a sharp rip sound. No “thud” = plates will shift during push-ups.
Back Plate Placement: Shoulder Blade Alignment Is Key
- Slide plate high between scapulae—not at waist level.
- Verify placement: Reach back. Plate should sit 2 inches below C7 vertebra (bony bump at base of neck).
- Critical check: Shake vest side-to-side. If plates slide >0.5 inch, reseat and reseal Velcro.
Stop Rust Before It Slows Your Murph Time
Post-WOD Plate Care Protocol
- Wipe with oiled cloth: Use a rag dampened with 3-in-1 oil after sweaty runs or rain exposure. Steel plates corrode fast when left damp in nylon sleeves.
- Never store loaded: Remove plates immediately post-workout. Trapped moisture causes rust in 48 hours.
- Dry shell upside down: Hang vest on wide-shoulder hanger with arm holes down. Air circulates through mesh channels 3× faster.
Cleaning Mistakes That Ruin Your Vest
- ❌ Machine washing → padding clumps, creating pressure points during squats.
- ❌ Direct sunlight drying → 600D nylon degrades in UV, weakening seams by 30%.
- ✅ Correct method: Hand-wash with mild detergent, sponge-clean Velcro fields, air-dry flat indoors.
Why Proper Murph Weight Vest Weight Transforms Key Movements
Running: How High Plate Placement Prevents “Heavy Legs”
Plates sitting above your diaphragm—achieved only with correct side-strapping—keep your center of gravity upright. Loose vests drop plates toward your hips, forcing a forward lean that:
– Slows mile splits by 8–12 seconds per lap
– Triggers quad fatigue 50 reps early in squats
– Verified fix: Cinch side straps tighter than you think necessary.
Pull-Ups: The 1-Inch Clearance Rule
When straps are properly tensioned, the vest’s rim sits 1 inch below your chin at full hang. This ensures:
– Zero fabric interference during chin-over-bar
– Unrestricted shoulder rotation for kipping efficiency
– Warning: Loose straps let vest ride up, blocking range of motion mid-set.
Push-Ups & Squats: Low-Profile Design Secrets
The 600D nylon shell hugs your torso within 0.25 inches—critical for ground work:
– Push-ups: Plates stay flush to chest, eliminating ground snagging.
– Squats: Weight distribution prevents vest “ride-up” behind knees.
– Pro move: Do 5 test squats before your WOD. If vest lifts >2 inches, tighten side straps.
Where to Buy Without Overpaying (Current Stock Alerts)
| Vest Kit | Price | Stock Status | Critical Detail |
|---|---|---|---|
| MURPH Standard (20 lb-ready) | $147 CAD | ✅ In stock | Ships from Quebec in 3–5 days; includes free Murph patch |
| WORKOUT 3.0 20 lb Kit | ≈$120 USD | ❌ Sold out | EU retailer; plates pre-installed (no separate purchase) |
Smart buy tip: The WORKOUT 3.0’s included plates save $25 vs. buying MURPH plates separately—but it’s currently unavailable. For immediate needs, the MURPH brand ships reliably from Canada with bilingual support.
Zero-Bounce Checklist: Dial In Your Murph Weight Vest Weight in 5 Minutes
- [ ] Confirm total weight: 20 lb = 8.5 lb plates × 2 + 3 lb shell (men)
- [ ] Seal plates properly: Hear the rip when Velcro closes
- [ ] Pass jump test: 10 jumps = zero plate movement
- [ ] Check pull-up clearance: Vest rim 1 inch below chin at full hang
- [ ] Wipe plates post-WOD: Prevent rust with oiled cloth
Master your murph weight vest weight, and that second-mile run shifts from suffering to soaring. The difference isn’t grit—it’s grams. Load precisely, strap smartly, and own every rep. Your fastest Murph starts with the right ounces.