
Strapping on a weighted vest transforms ordinary walks into fat-burning power sessions and turns basic push-ups into muscle-building challenges. But ignoring critical weighted vest guidelines risks joint damage, compromised form, and injury—especially when beginners load up with 20+ pounds on day one. These evidence-based protocols reveal exactly how much weight to safely add, when to progress, and how to avoid common pitfalls whether you’re power-walking, rucking, or strength training. Follow these medically reviewed rules to maximize calorie burn and strength gains while protecting your spine, knees, and cardiovascular system.
Weighted Vest Starting Load Guidelines: The 5% Rule
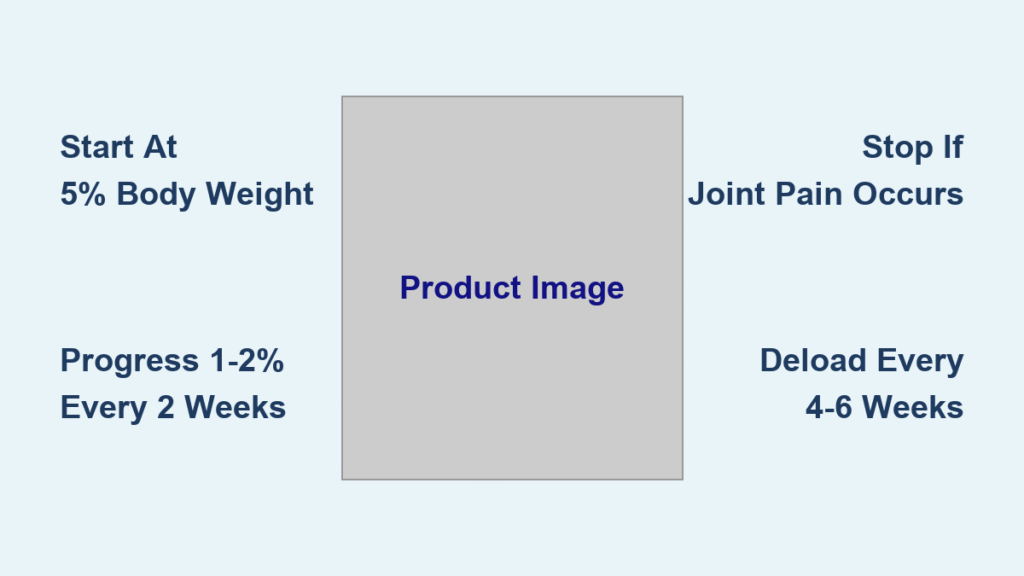
Never begin with more than 5% of your body weight—this non-negotiable threshold prevents joint strain during adaptation. A 150-pound person starts at 7.5 pounds, while 200-pound athletes begin with 10 pounds. Exceeding this initial load dramatically increases injury risk according to orthopedic research.
Activity-Specific Weight Adjustments
Match your vest weight precisely to your movement type using these clinically validated ranges:
– Walking/Hiking: 5-10% body weight (higher end for incline work)
– Running: Maximum 8% body weight (start at 5% to preserve gait)
– Rucking: 8-15% body weight (slower pace reduces impact)
– Strength Training: 10-20% for push-ups/squats (only after 4+ weeks of base loading)
– Plyometrics: Strictly 5-10% to minimize tendon stress
Progressive Overload Timeline
Increase weight using this scientifically backed schedule:
– Weeks 1-2: Maintain 5% body weight during all activities
– Weeks 3-4: Add 1-2% (approximately 1-2 pounds for most adults)
– Ongoing: Increase load by 1-2% every two weeks
– Critical Recovery Step: Reduce weight by 50% every 4-6 weeks to prevent overuse injuries
Weighted Vest Safety Guidelines: Stop Immediately If You Notice These Signs
Your body sends clear warning signals when the vest load becomes dangerous. Remove the vest immediately if you experience:
– Breathing limitations: Inability to speak full sentences during moderate activity
– Postural collapse: Shoulders rolling forward, excessive lower back arching, or head protruding
– Joint pain: Sharp sensations in knees, hips, ankles, or lumbar spine
– Recovery failure: Muscle soreness lasting beyond 48 hours or disrupted sleep patterns
Absolute Contraindications
Do not use weighted vests if you have:
– Heart disease or uncontrolled hypertension
– Osteoarthritis in weight-bearing joints
– Recent fractures (within 6 months)
– Balance disorders or pregnancy beyond first trimester
Pre-Use Screening Checklist
Complete these safety steps before your first session:
1. Consult your physician if over 50 or managing chronic conditions
2. Perform a 5-minute treadmill test at starting load
3. Verify vest stability—zero bouncing during jumping jacks
4. Confirm pain-free movement through full range of motion
Weighted Vest Selection Guidelines: Fit, Style, and Material Essentials

Fit Requirements That Prevent Injury
Your vest must pass these critical stability tests:
– Torso security: Zero lateral shift or vertical bounce during jumping jacks
– Shoulder comfort: Padded straps ≥2 inches wide that don’t dig into deltoids
– Weight distribution: Equal front/back mass within 0.5-pound tolerance
– Adjustability: 1-pound increment options with secure buckles or Velcro
Style Recommendations by Activity
- Running/Walking: Shoulder-holster designs (Hyper Vest Pro) for minimal bounce
- Strength Training: Torso-covering vests with plate-loading capacity
- Women: Contoured models with higher chest buckles (Aduro Sport)
- Tall Users: ZFOSports Adjustable for extended torso coverage
Material Quality Checklist
- Shell Fabric: 600D nylon or Cordura for abrasion resistance
- Weight Type: Steel shot (quiet movement) vs. iron blocks (adjustable)
- Liner: Perforated foam or neoprene for sweat management
- Critical Feature: Mesh ventilation panels to prevent overheating
Weighted Vest Programming Guidelines: Weekly Plans for Walkers, Runners, and Lifters

Beginner Walker Protocol
Follow this evidence-based progression:
– Weeks 1-2: 30-40 minute flat walks at 5% body weight, 3x weekly
– Weeks 3-4: Add 1% load and include one weekly hill session
– Key Progression Trigger: Increase weight only after completing 40 minutes pain-free
Strength Training Integration
Add vest weight to these movements twice weekly:
– Push-ups: Maintain rigid plank line from head to heels
– Squats: Heels planted, thighs parallel to floor
– Lunges: Long stride with front shin vertical
– Progression Rule: Only add vest weight after achieving 20+ unweighted reps
Advanced Running Program
Build tolerance over 8-12 weeks:
– Weeks 1-4: 20-minute runs at 5% body weight
– Weeks 5-8: Increase to 8% body weight with perfect form
– Elite Phase (Weeks 9-12): Maximum 10-12% for track intervals only
Weighted Vest Guidelines for Adults 50+ and Rehab Settings

Adults 50+ Protocol
- Starting load: 3-5% body weight (lighter than standard)
- Session duration: Begin with 20-minute walk bouts
- Optimal activities: Brisk walks, stair climbing, bodyweight circuits
- Critical avoidance: High-impact sports and overhead pressing
- Research insight: 6 hours daily vest wear preserves hip bone density during weight loss (Wake Forest study)
Rehabilitation Settings
Use only under professional supervision:
– Load: Start at 2-3% body weight
– Exercises: Seated marches, wall push-ups, mini-squats
– Safety monitoring: Pain ≤3/10 on scale, effortless breathing throughout
Weighted Vest Technique Guidelines: Form Cues for Walking and Running
Walking Form Essentials
- Stride: Shorten by 10% from normal gait
- Foot strike: Mid-foot landing (not heel-first)
- Posture: Ears over shoulders, shoulders over hips
- Core engagement: Gentle 20-30% contraction (belly button to spine)
Running Form Checklist
- Cadence: Maintain 170-180 steps per minute
- Body lean: Forward tilt from ankles (never waist)
- Arm position: 90-degree elbows, hands not crossing midline
- Breathing rhythm: Inhale 3 steps, exhale 2 steps
Common Mistakes to Avoid
- Overloading too fast: Skipping the 5% starting rule
- Poor strap adjustment: Cutting off circulation or causing shoulder bruising
- Ignoring pain signals: Mistaking joint pain for “good soreness”
- Skipping deload weeks: Preventing necessary recovery adaptation
Weighted Vest Care Guidelines: Maintenance and Accessories
Vest Care Routine
- Cleaning: Hand wash with mild detergent; never machine dry
- Storage: Hang vertically to maintain strap elasticity
- Inspection: Monthly checks for frayed seams or buckle damage
- Critical warning: Machine washing voids most manufacturers’ warranties
Essential Accessories
- Reflective strips: Mandatory for low-light conditions
- Hydration sleeve: Compatible with shoulder-holster styles
- Sweat-resistant phone pocket: With zipper enclosure
- Trekking poles: Offload 5-10% knee stress during rucking
Your Weighted Vest Quick-Start Action Plan
Implement these steps immediately for safe progression:
1. Calculate 5% of your body weight (e.g., 150 lbs = 7.5 lbs)
2. Choose an adjustable vest with breathable mesh panels
3. Day 1 test: 5-minute walk at starting weight to assess comfort
4. Weeks 1-2: 20-30 minute walks, 3x weekly at 5% load
5. Week 3+: Add 1% weight every two weeks; integrate strength circuits
6. Track daily: Log distance, load, and any discomfort signals
7. Deload monthly: Reduce weight by 50% every 4-6 weeks
8. Quarterly review: Reassess goals with fitness professional
Consistency with proper loading beats sporadic heavy sessions every time. The most effective weighted vest guidelines prioritize gradual progression over ego lifting—protecting your joints while building functional strength. Start at 5%, progress slowly, and listen to your body’s signals to transform your training safely. Remember: the best weighted vest program is the one you’ll actually follow long-term without injury.


