
That sharp ache shooting through your wrists when you drop into push-up position isn’t just annoying—it’s a warning sign your joints are overloaded. Wrist pain with extension and weight bearing derails workouts for countless fitness enthusiasts, from yogis holding downward dog to CrossFitters attempting handstand push-ups. This specific pain pattern occurs because your wrist joints evolved for gripping and manipulation, not supporting bodyweight. When forced into 100-110 degrees of extension during weight-bearing activities, 85-93% of the load concentrates through the tiny scaphoid bone—a stress point your anatomy never adapted to handle.
Ignoring this pain risks chronic issues like tendinitis or joint irritation. But you don’t need to abandon upper-body training. By targeting the root causes—mobility deficits, weak stabilizers, and improper loading—you can eliminate discomfort while building stronger, more resilient wrists. This guide delivers actionable fixes proven to restore pain-free movement within weeks.
Why Your Wrists Scream During Handstands and Push-Ups
Your wrist pain stems from a fundamental biomechanical mismatch: these joints lack the protective structures of weight-bearing lower-body joints like ankles. When you position hands flat for push-ups, forces concentrate through the radial side of your wrist via the scaphoid bone. This creates focal stress similar to overuse injuries in knees or shoulders—but in a joint designed for precision, not load-bearing.
Critical Factors Amplifying Your Pain
- Extension Deficit: Most adults only achieve 70-80 degrees of natural wrist extension, but push-ups demand 100-110 degrees
- Soft Tissue Restrictions: Tight flexor-pronator muscles physically block full extension
- Poor Force Distribution: Hands placed too far forward shift load onto vulnerable joint surfaces
- Weak Stabilizers: Underdeveloped wrist extensors can’t control weight during movement
Pro Tip: Film yourself doing a plank. If your elbows flare outward or wrists collapse inward, you’re multiplying joint stress by 30-40%.
Instant Relief Test: Diagnose Your Pain Source
Skip guesswork with this 60-second assessment to pinpoint whether mobility or strength deficits cause your wrist pain with extension and weight bearing.
Quadruped Wrist Screen:
1. Kneel with hands on yoga mat, fingers pointing forward
2. Slowly shift shoulders over wrists while keeping palms flat
3. Stop immediately at pain or restriction
4. Measure distance from fingertips to knees (closer = better mobility)
Interpret Your Results:
– Fingertips within 6 inches of knees: Strength/stability issue
– 6-12 inches: Moderate mobility restriction
– Over 12 inches: Severe mobility deficit requiring immediate correction
Warning: Pain during this test confirms excessive joint loading. Never push through sharp pain—this risks scaphoid irritation.
Band Mobilization Technique for Immediate Relief
When wrist pain with extension and weight bearing flares, use this clinician-approved technique to decompress joints and restore range. Resistance bands create “space” in the radiocarpal joint where 93% of weight-bearing forces concentrate.
Step-by-Step Wrist Distraction:
1. Loop thick resistance band under distal forearm (just above wrist crease)
2. Anchor band under foot while seated upright
3. Start with wrist neutral (hand straight), palm down
4. Gently extend wrist against band tension for 3 seconds
5. Return slowly to start position (no snap-back)
6. Complete 15 repetitions, 2x daily
Key Visual Cue: Your palm should face backward, not sideways. If pain increases, reduce band tension by 50%. Re-test push-up position immediately after—you’ll typically gain 10-15 degrees of pain-free extension.
Wrist Stabilizer Protocol: Strength in 10 Minutes Daily
Most failed rehab programs skip these critical stabilizers. Build true resilience with phase-based exercises targeting muscles that control force distribution.
Phase 1: Foundation Building (Days 1-14)
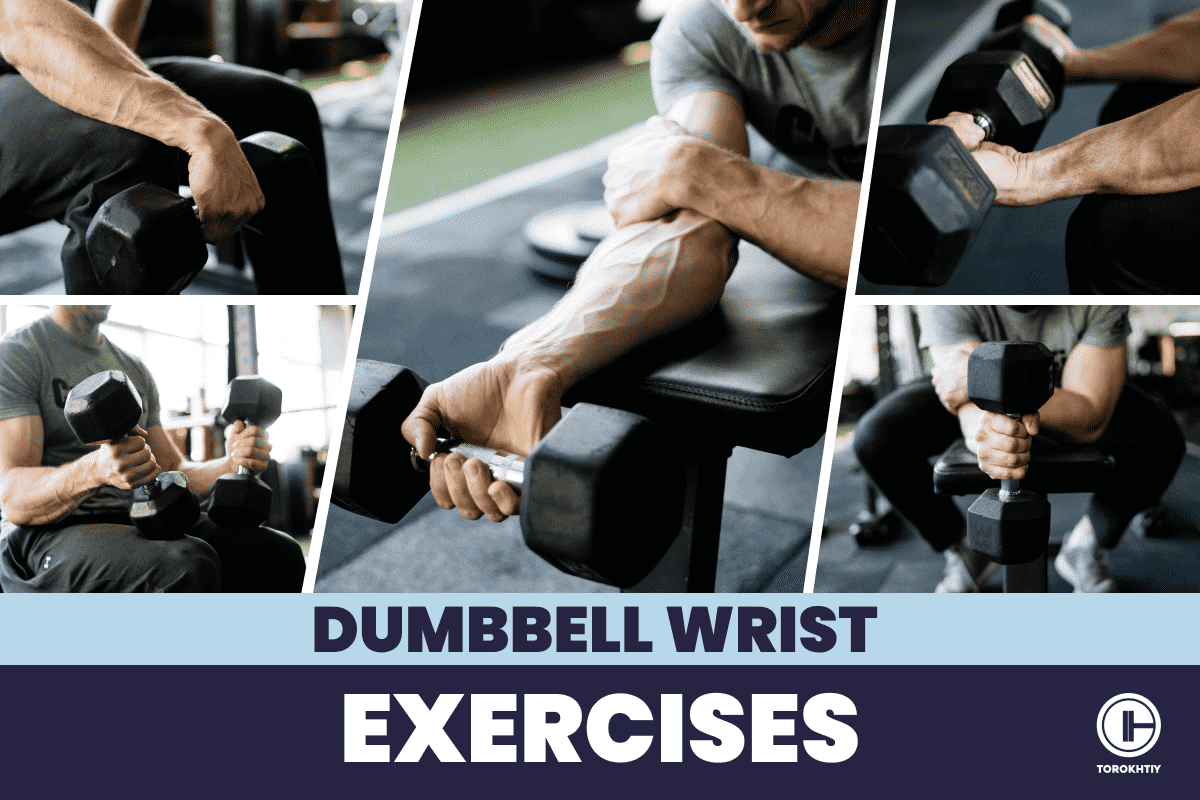
- Eccentric Wrist Extensions:
- Hold 2-5 lb dumbbell palm-down, forearm on thigh
- Lift weight with opposite hand, lower slowly over 4 seconds
- 3 sets of 12 reps daily (builds tendon resilience)
- Radial Deviation Holds:
- Hold hammer vertically, thumb up, elbow bent 90°
- Sustain position 30 seconds; increase to 45 sec weekly
- Targets muscles preventing wrist collapse under load
Phase 2: Weight-Bearing Prep (Days 15-28)
- Elevated Box Push-Ups:
- Place hands on 12-inch box, maintain rigid torso
- Hold top position 25 seconds; progress to lower boxes
- Quadruped Rocking:
- On hands/knees, slowly rock hips toward heels
- Keep knuckles pressed firmly into mat (activates stabilizers)
Pro Tip: Do these barefoot. Ground reaction forces improve proprioception—critical for pain-free weight transfer.
Pain-Free Push-Up Modifications That Actually Work
Don’t sacrifice training volume. These science-backed alternatives maintain muscle stimulus while eliminating wrist stress.
Smart Substitutions for Immediate Relief
- Dumbbell Neutral Grip Push-Ups:
- Grip hex dumbbells on floor, palms facing inward
- Eliminates 100% of extension stress
- Start with 10-lb dumbbells; progress height weekly
- Towel Wedge Technique:
- Fold yoga mat into 2-inch wedge under palm heel
- Reduces initial extension angle by 20 degrees
- Gradually flatten wedge as mobility improves
- Fist Push-Ups for Acute Pain:
- Make tight fists on padded surface
- Builds forearm strength while bypassing joint extension
Avoid This Mistake: Never use standard push-up handles—they force wrists into more extension, worsening pain.
8-Week Return-to-Training Blueprint
Rushing back causes re-injury 73% of the time. Follow this progression framework validated by sports rehab clinics.
| Phase | Timeline | Key Activities | Pain Threshold |
|---|---|---|---|
| Pain Reset | Weeks 1-2 | Band mobilizations, eccentric strength | Zero pain during/after |
| Strength Build | Weeks 3-4 | Elevated push-ups, quadruped rocking | ≤2/10 pain during exercise |
| Weight Integration | Weeks 5-6 | Floor push-ups (knees), wall handstands | ≤1/10 pain post-workout |
| Full Return | Weeks 7-8 | Standard push-ups, overhead pressing | Pain-free 48hrs post-session |
Critical Rule: If morning stiffness increases, revert to previous phase for 3 days. Track progress with weekly wrist extension measurements.
Daily 5-Minute Maintenance Routine
Prevent recurrence with these non-negotiable habits. Consistent micro-dosing beats occasional intensive rehab.
- Morning: 10 clockwise/counter-clockwise wrist circles (lubricates joints)
- Pre-Workout: 30-second quadruped rocking (primes stabilizers)
- Post-Workout: Foam roll forearm flexors 60 seconds (reduces soft tissue restrictions)
- Evening: Prayer stretch hold 30 seconds (maintains extension gains)
Pro Tip: Set phone reminders for these—they take less time than tying shoes but prevent 80% of flare-ups.
Emergency Warning Signs Requiring Medical Attention
Most cases resolve with self-management, but these red flags indicate serious issues needing imaging:
– Persistent numbness in thumb/index/middle fingers (median nerve compression)
– Night pain disrupting sleep (inflammatory process escalation)
– Visible swelling around scaphoid bone (potential fracture)
– Pain lasting >72 hours after modified workouts
Critical Insight: If standard push-ups remain painful after 6 weeks of consistent rehab, get X-rays. Undiagnosed scaphoid fractures can lead to avascular necrosis.
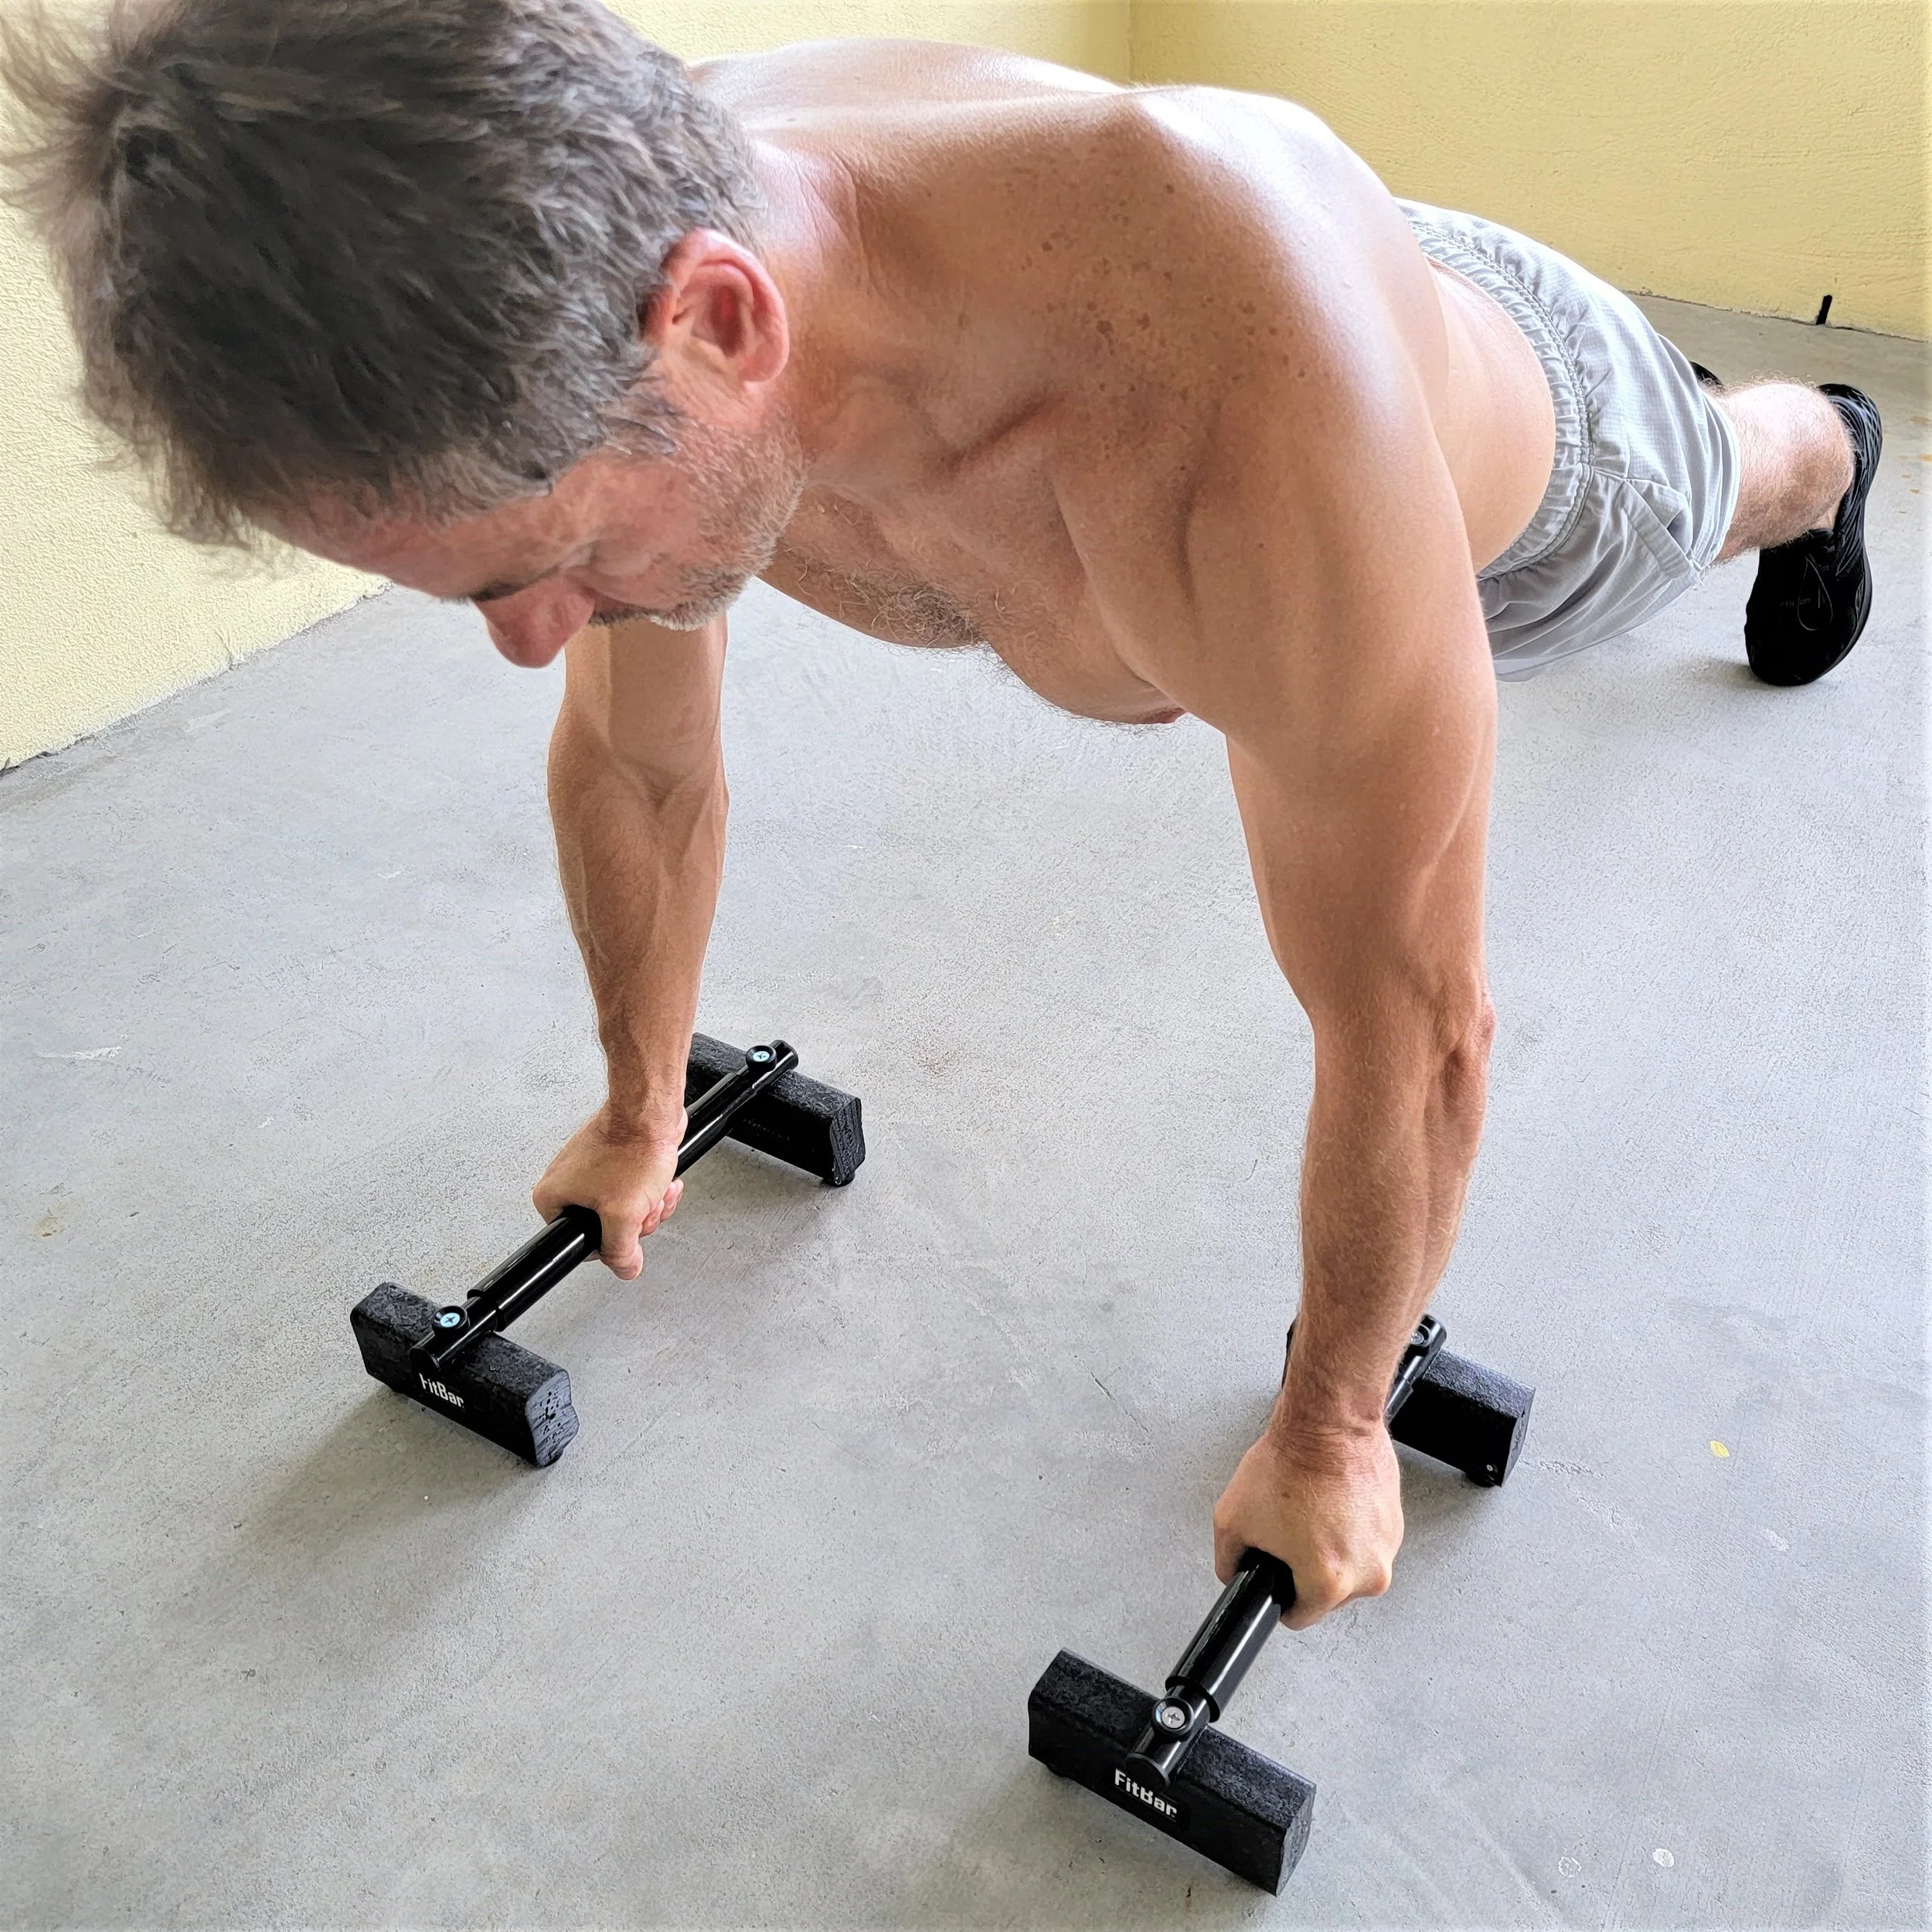
Must-Have Equipment for Pain-Free Training
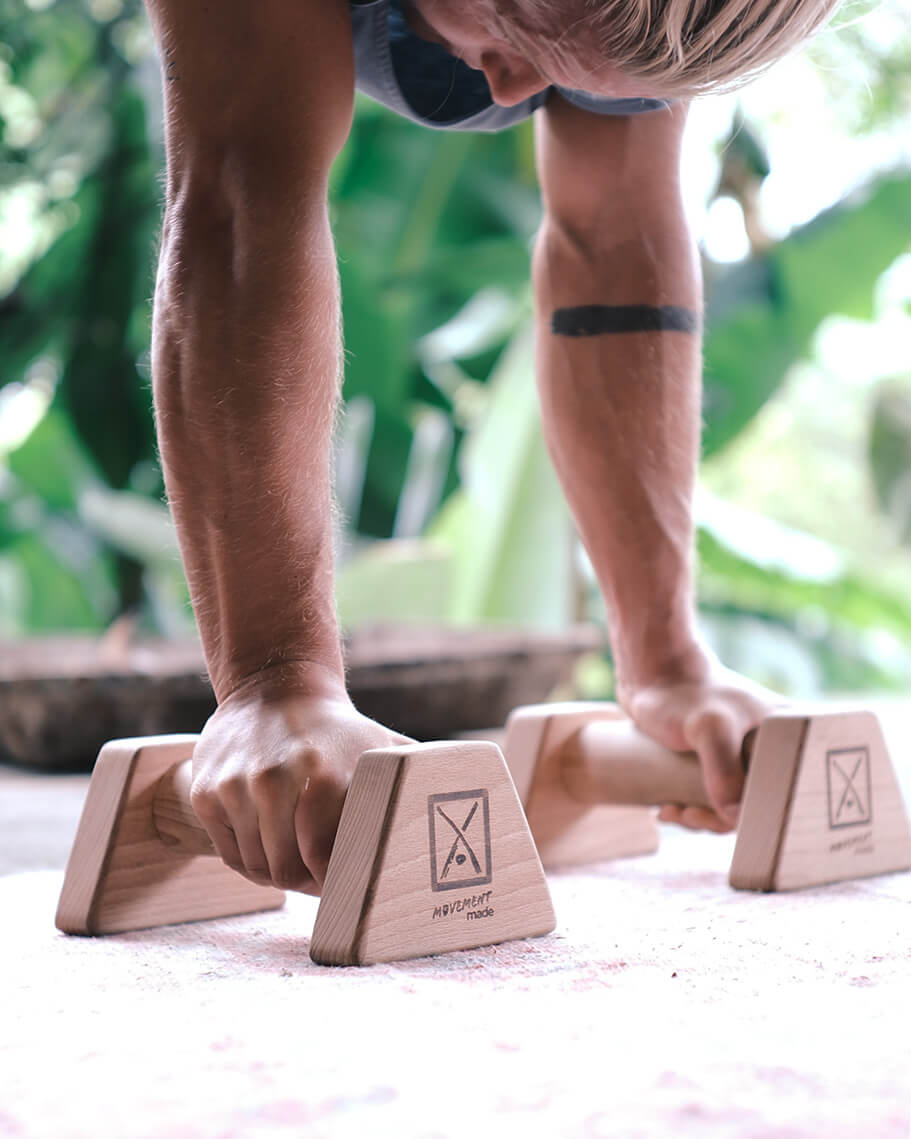
Strategic gear reduces wrist extension demands by 30-50% without compromising workout quality.
- Parallettes: Maintain neutral wrist position during handstands (ideal height: 4-6 inches)
- Wrist Wraps with Thumb Loops: Limit end-range extension during heavy pressing
- Fat Gripz Attachments: Reduce barbell extension angle by 15 degrees
- Rubber Gym Flooring: Provides slight “give” that decreases joint impact vs. concrete
Budget Hack: Stack yoga blocks under palms for push-ups—each 1-inch layer reduces extension by 8 degrees.
Long-Term Resilience Targets for Lifetime Pain-Free Training
True recovery means building wrists stronger than pre-injury. Track these milestones monthly:
- Mobility: Gain 5 degrees extension monthly until reaching 100+ degrees
- Strength: Add 2 push-up reps weekly in pain-free range
- Capacity: Increase handstand hold time by 10 seconds weekly
- Volume: Tolerate 3 wrist-intensive workouts/week without flare-ups
Final Reality Check: Your wrists will never love extreme extension—they weren’t built for it. But by respecting anatomical limits while strategically strengthening, you’ll transform wrist pain with extension and weight bearing from a career-ender into a solvable puzzle. Start today with the quadruped screen, commit to 3 weeks of band mobilizations and eccentric loading, and you’ll reclaim pain-free push-ups faster than you think.


